Recording Studio Equipment for Pro Video Podcasts
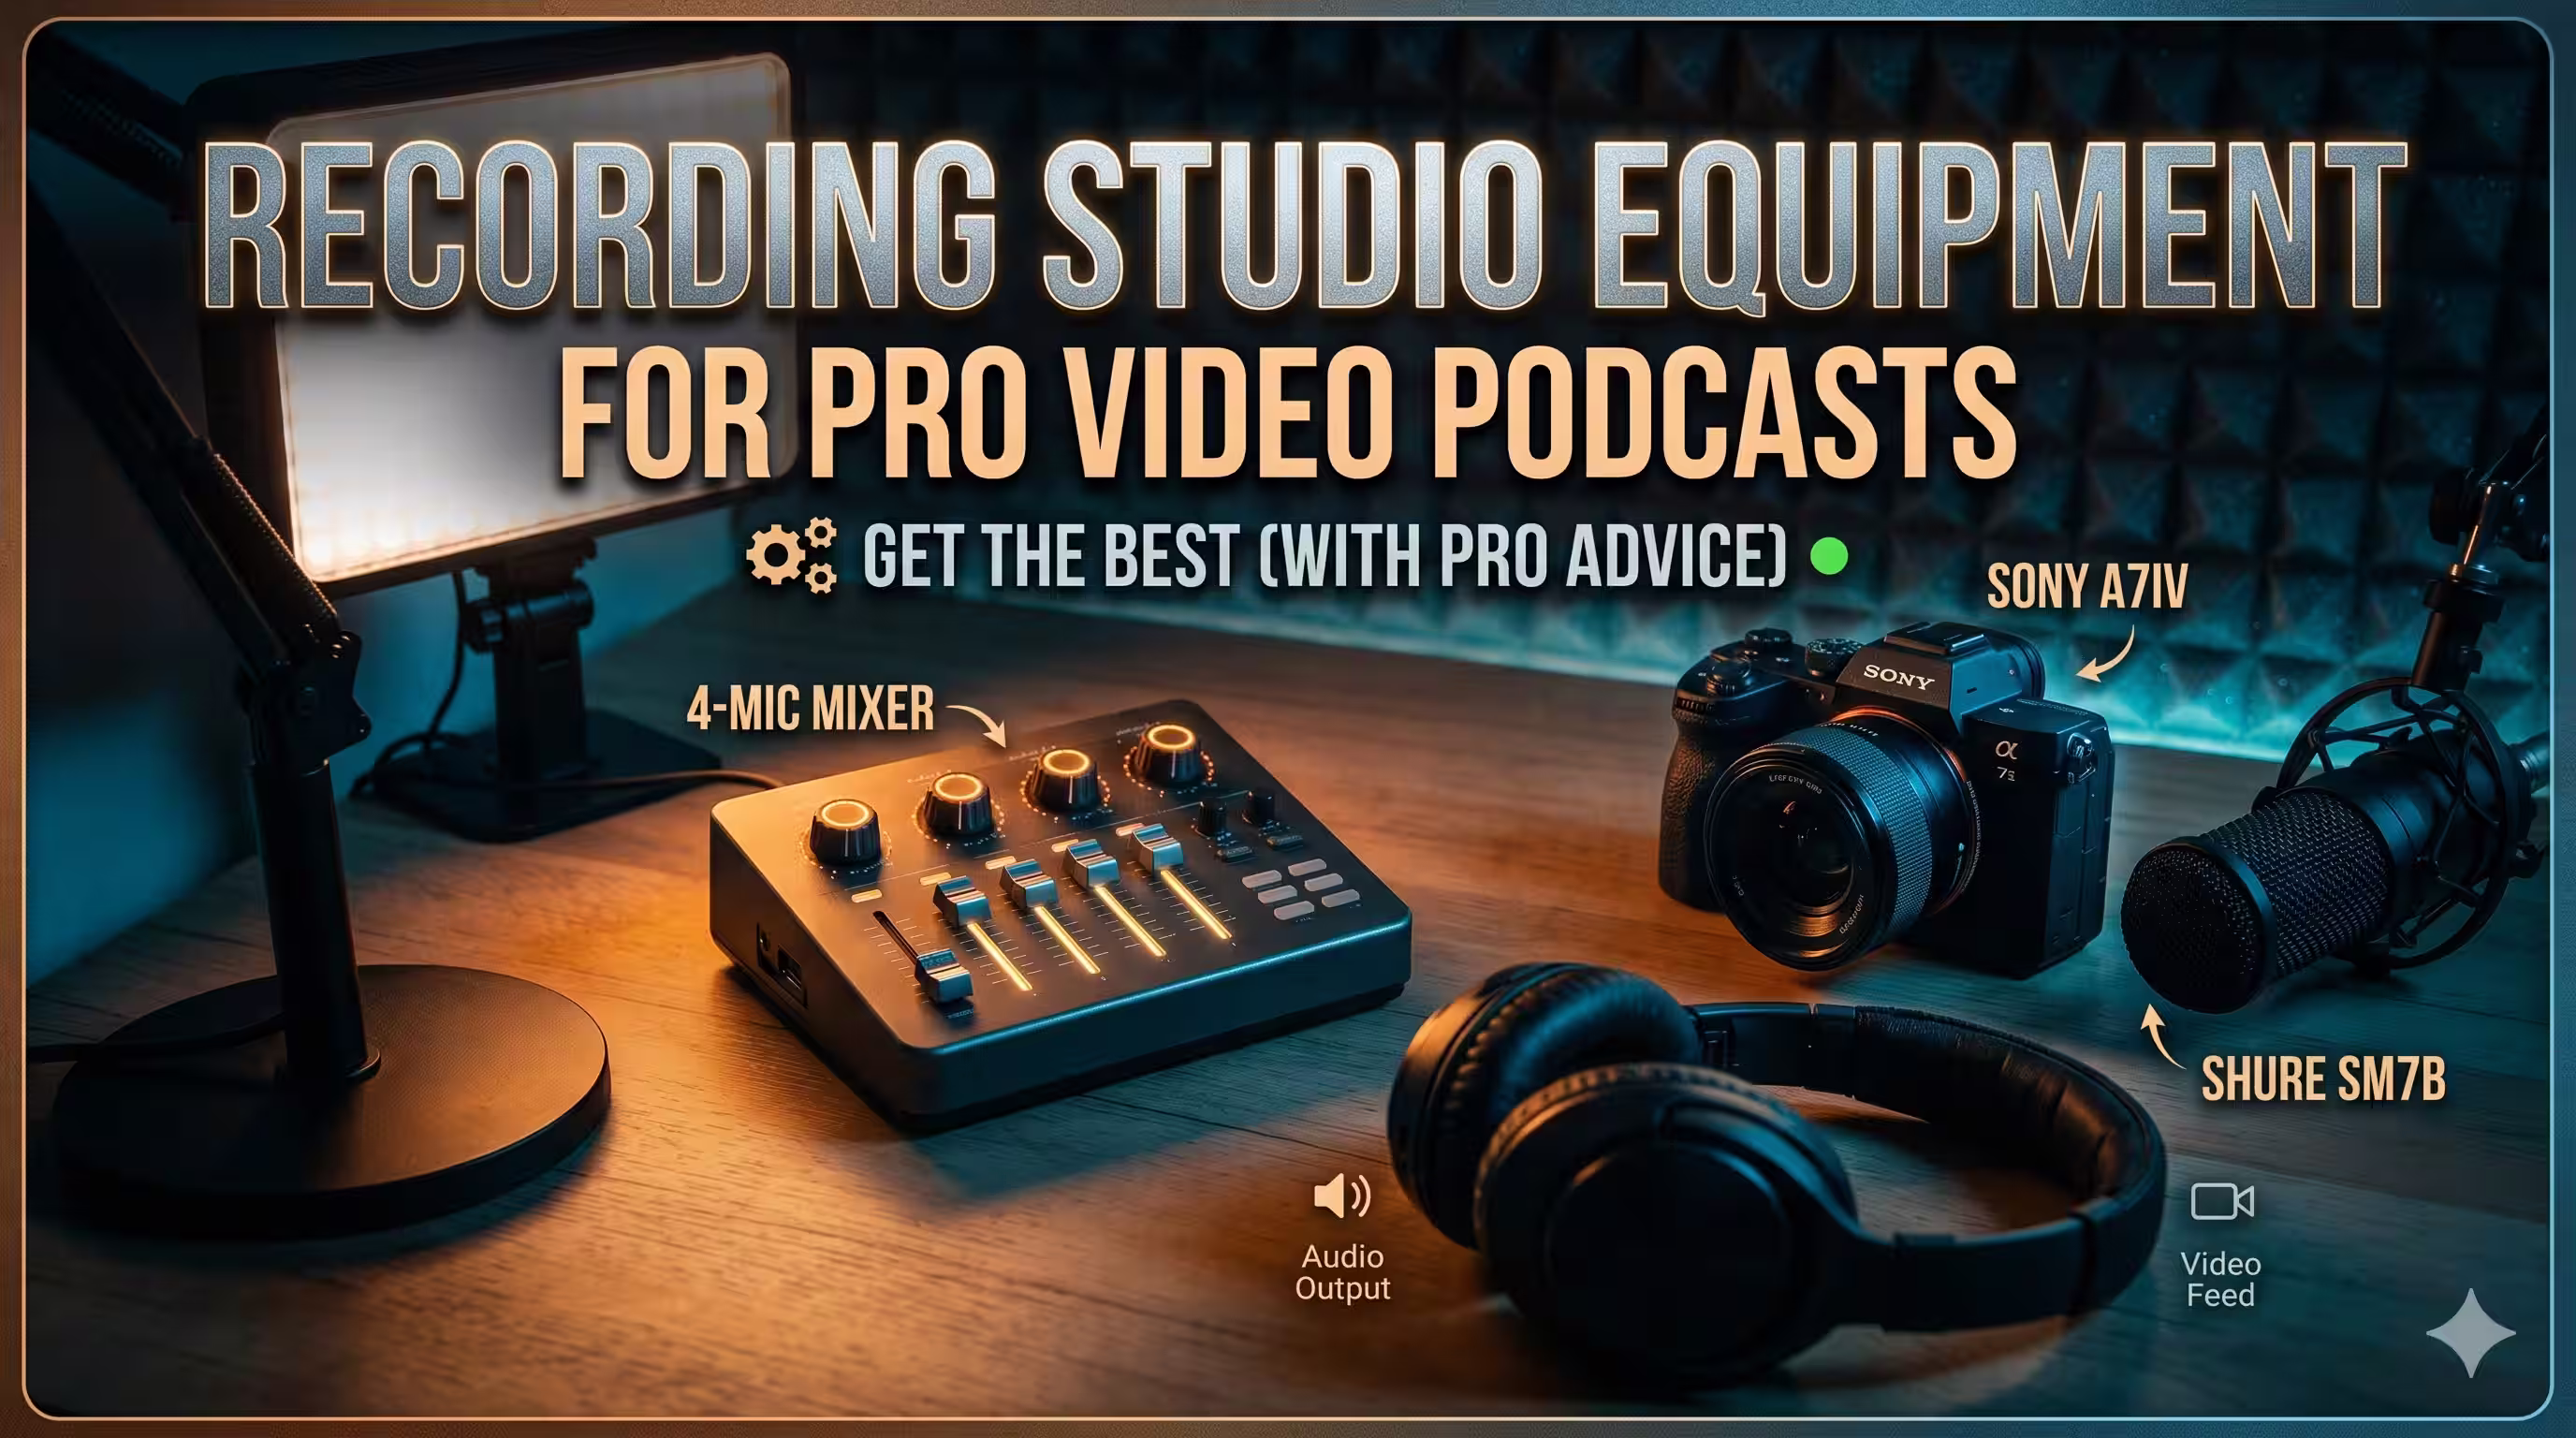
You’ve decided the brand should launch a video podcast. The strategy makes sense. You want founder-led distribution, stronger authority, more reusable content, and a format that works across YouTube, LinkedIn, Spotify, and short clips.
Then you search for recording studio equipment and hit a wall.
Most advice is written for musicians building home studios. It assumes you’re recording vocals for songs, miking guitar amps, or treating a room for mixing records. That’s not the same job. A B2B show has different pressure points. You need clean dialogue, dependable video, fast setup, remote guest support, and a workflow your team can repeat without turning your marketing lead into a part-time audio engineer.
That gap is real. Existing guides on recording studio equipment largely target musicians rather than B2B teams dealing with multi-cam sync, platform-specific delivery, and remote collaboration. One source also notes that video podcasts grew 40% YoY in 2025, while only 15% of studio equipment content covers video-audio sync (Recording Connection). That mismatch is why so many teams buy decent gear and still end up with messy recordings.
The fix isn’t to learn every corner of pro audio. It’s to make a few smart equipment choices that match your format, your room, and your publishing workflow.
A good studio for business podcasting doesn’t need to look flashy. It needs to do three things well:
- Capture clean voice audio
- Record video that feels intentional
- Work predictably every time
If a setup sounds great but takes too long to operate, teams stop using it. If it looks polished but the audio is harsh or echoey, viewers bounce. If it only works when your most technical employee is in the room, it isn’t a studio. It’s a fragile workaround.
What follows is the practical version. No music-studio rabbit holes. No gear-snob advice. Just the recording studio equipment that matters when your actual goal is publishing a professional video podcast on a schedule.
From Idea to Airwaves The Modern Video Podcast Challenge
A familiar pattern shows up when brands start a show.
The founder wants to record interviews. Marketing wants clips for social. Someone on the team adds a camera to the cart, someone else suggests a USB mic, and then the open browser tabs multiply. XLR or USB. Dynamic or condenser. Interface or mixer. DSLR or webcam. Ring light or softbox. Acoustic foam or “fix it in post.”
The confusion doesn’t come from a lack of effort. It comes from the wrong frame.
Teams commonly think they’re building a studio. What they’re really building is a repeatable content system. The gear matters because it affects speed, consistency, and whether each episode is usable across multiple channels.
What business teams actually need
A B2B podcast setup usually has a narrower job than a music studio and a stricter operating requirement.
You need equipment that can handle:
- Talking-head dialogue: Speech needs to sound clear, controlled, and natural.
- Simple operation: A producer, marketer, or executive should be able to start recording without troubleshooting for half an hour.
- Remote participation: Guests won’t always be in the room.
- Platform flexibility: Long-form video, audio-only feeds, short clips, thumbnails, and branded edits all come from the same source recording.
That changes what “good equipment” means. The best choice isn’t the most expensive box. It’s the one that reduces friction while preserving quality.
Practical rule: Buy for your workflow first, then for your wishlist.
The wrong purchases happen early
The biggest mistakes happen before the first episode.
Teams often overspend on cameras and underspend on sound. Or they buy a sensitive condenser mic for an untreated office and wonder why every hard wall, keyboard tap, and HVAC rumble ends up in the final cut. Sometimes they assemble individually solid pieces of recording studio equipment that don’t play well together.
The result is predictable. The show launches late, editing takes too long, and the internal verdict becomes “podcasting is harder than we thought.”
It is harder than it looks. But it’s manageable when you treat the studio as a production chain instead of a shopping spree.
The Seven Core Components of a Video Podcast Studio
A professional video podcast studio comes down to seven categories. If you understand what each one does, equipment choices get much easier.
Microphones
For spoken-word production, the microphone sets the tone before anything reaches your editor.
In many office or home environments, a dynamic microphone is the safer choice. It tends to reject more room sound and rewards close mic technique. That matters when you’re recording in spaces that weren’t built as studios. A condenser microphone can sound detailed and open, but it also hears more of the room. In a bad room, that extra detail becomes a liability.
The key question isn’t “Which mic is best?” It’s “Which mic suits this room and this host?”
If you’re comparing options, this guide to recommended microphones for podcasting is a useful starting point.
What works:
- Dynamic mics in reflective rooms
- Close placement with a boom arm
- Consistent host positioning
What doesn’t:
- A sensitive mic placed too far away
- Tabletop placement that picks up desk noise
- Changing microphone distance mid-sentence
Audio interfaces
The audio interface is the bridge between microphone and computer. For podcasting, it’s not a side component. It’s central.
Professional interfaces use microphone preamps to boost the incoming signal before analog-to-digital conversion. Preamp quality matters because poor preamps introduce noise that can’t be fixed later, which directly affects how your show holds up on YouTube and Spotify (Pirate).
That’s why experienced producers care so much about interfaces. A weak preamp gives you brittle gain staging, noisy recordings, and cleanup work that never fully delivers. A good one gives you a stable foundation.
Look for:
- Enough inputs for your format
- Reliable drivers
- Clean gain for spoken voice
- Direct monitoring options
Cameras
You don’t need cinema gear. You do need consistency.
For most business podcasts, the right camera is the one your team can frame, power, and run repeatedly without overheating, random shutdowns, or awkward file handling. Dedicated cameras generally give a more polished result than webcams, but the decision should be operational, not emotional.
Prioritize:
- Clean output or dependable internal recording
- Reliable autofocus for seated hosts
- Simple matching if you use multiple cameras
- Power solutions for longer sessions
Lighting
Good lighting makes average cameras look better. Bad lighting makes expensive cameras look cheap.
For podcasts, soft and controlled light wins. You want faces to look natural, eyes to have life, and skin tones to stay consistent across episodes. A large soft source usually beats a harsh small one.
Use a simple model:
- Key light for shape
- Fill or ambient control to manage contrast
- Background light if you want separation
Here’s a useful visual walkthrough of the broader setup decisions involved:
Support gear
Support gear sounds boring until it fails.
Boom arms, mic stands, tripods, light stands, mounts, and cable management pieces are what make a studio usable day after day. Cheap support hardware drifts, sags, rattles, and eventually slows everyone down.
A good boom arm lets the host place the mic correctly without blocking the frame. A stable light stand keeps your look unchanged between sessions. Proper cable routing keeps the room safe and the recording clean.
Your audience never praises a boom arm. They notice when the mic droops into frame or a host keeps touching the stand.
Acoustic treatment
Acoustic treatment controls how the room behaves. It does not mean soundproofing.
That distinction matters. Most podcast rooms don’t need isolation from the outside world as much as they need control over reflections inside the room. Hard walls create echo, splash, and that hollow “office podcast” sound people associate with amateur production.
Basic treatment can include:
- Panels at reflection points
- Rugs and soft furnishings
- Curtains on reflective surfaces
- Thoughtful mic placement away from walls
Monitoring
Monitoring is how you hear what you’re recording.
That includes closed-back headphones during recording and, if you’re editing or reviewing in-house, reliable monitor speakers or reference headphones. Consumer earbuds often flatter the sound. They’re great for everyday listening and bad for judging recording problems.
If your monitoring lies to you, your decisions will too.
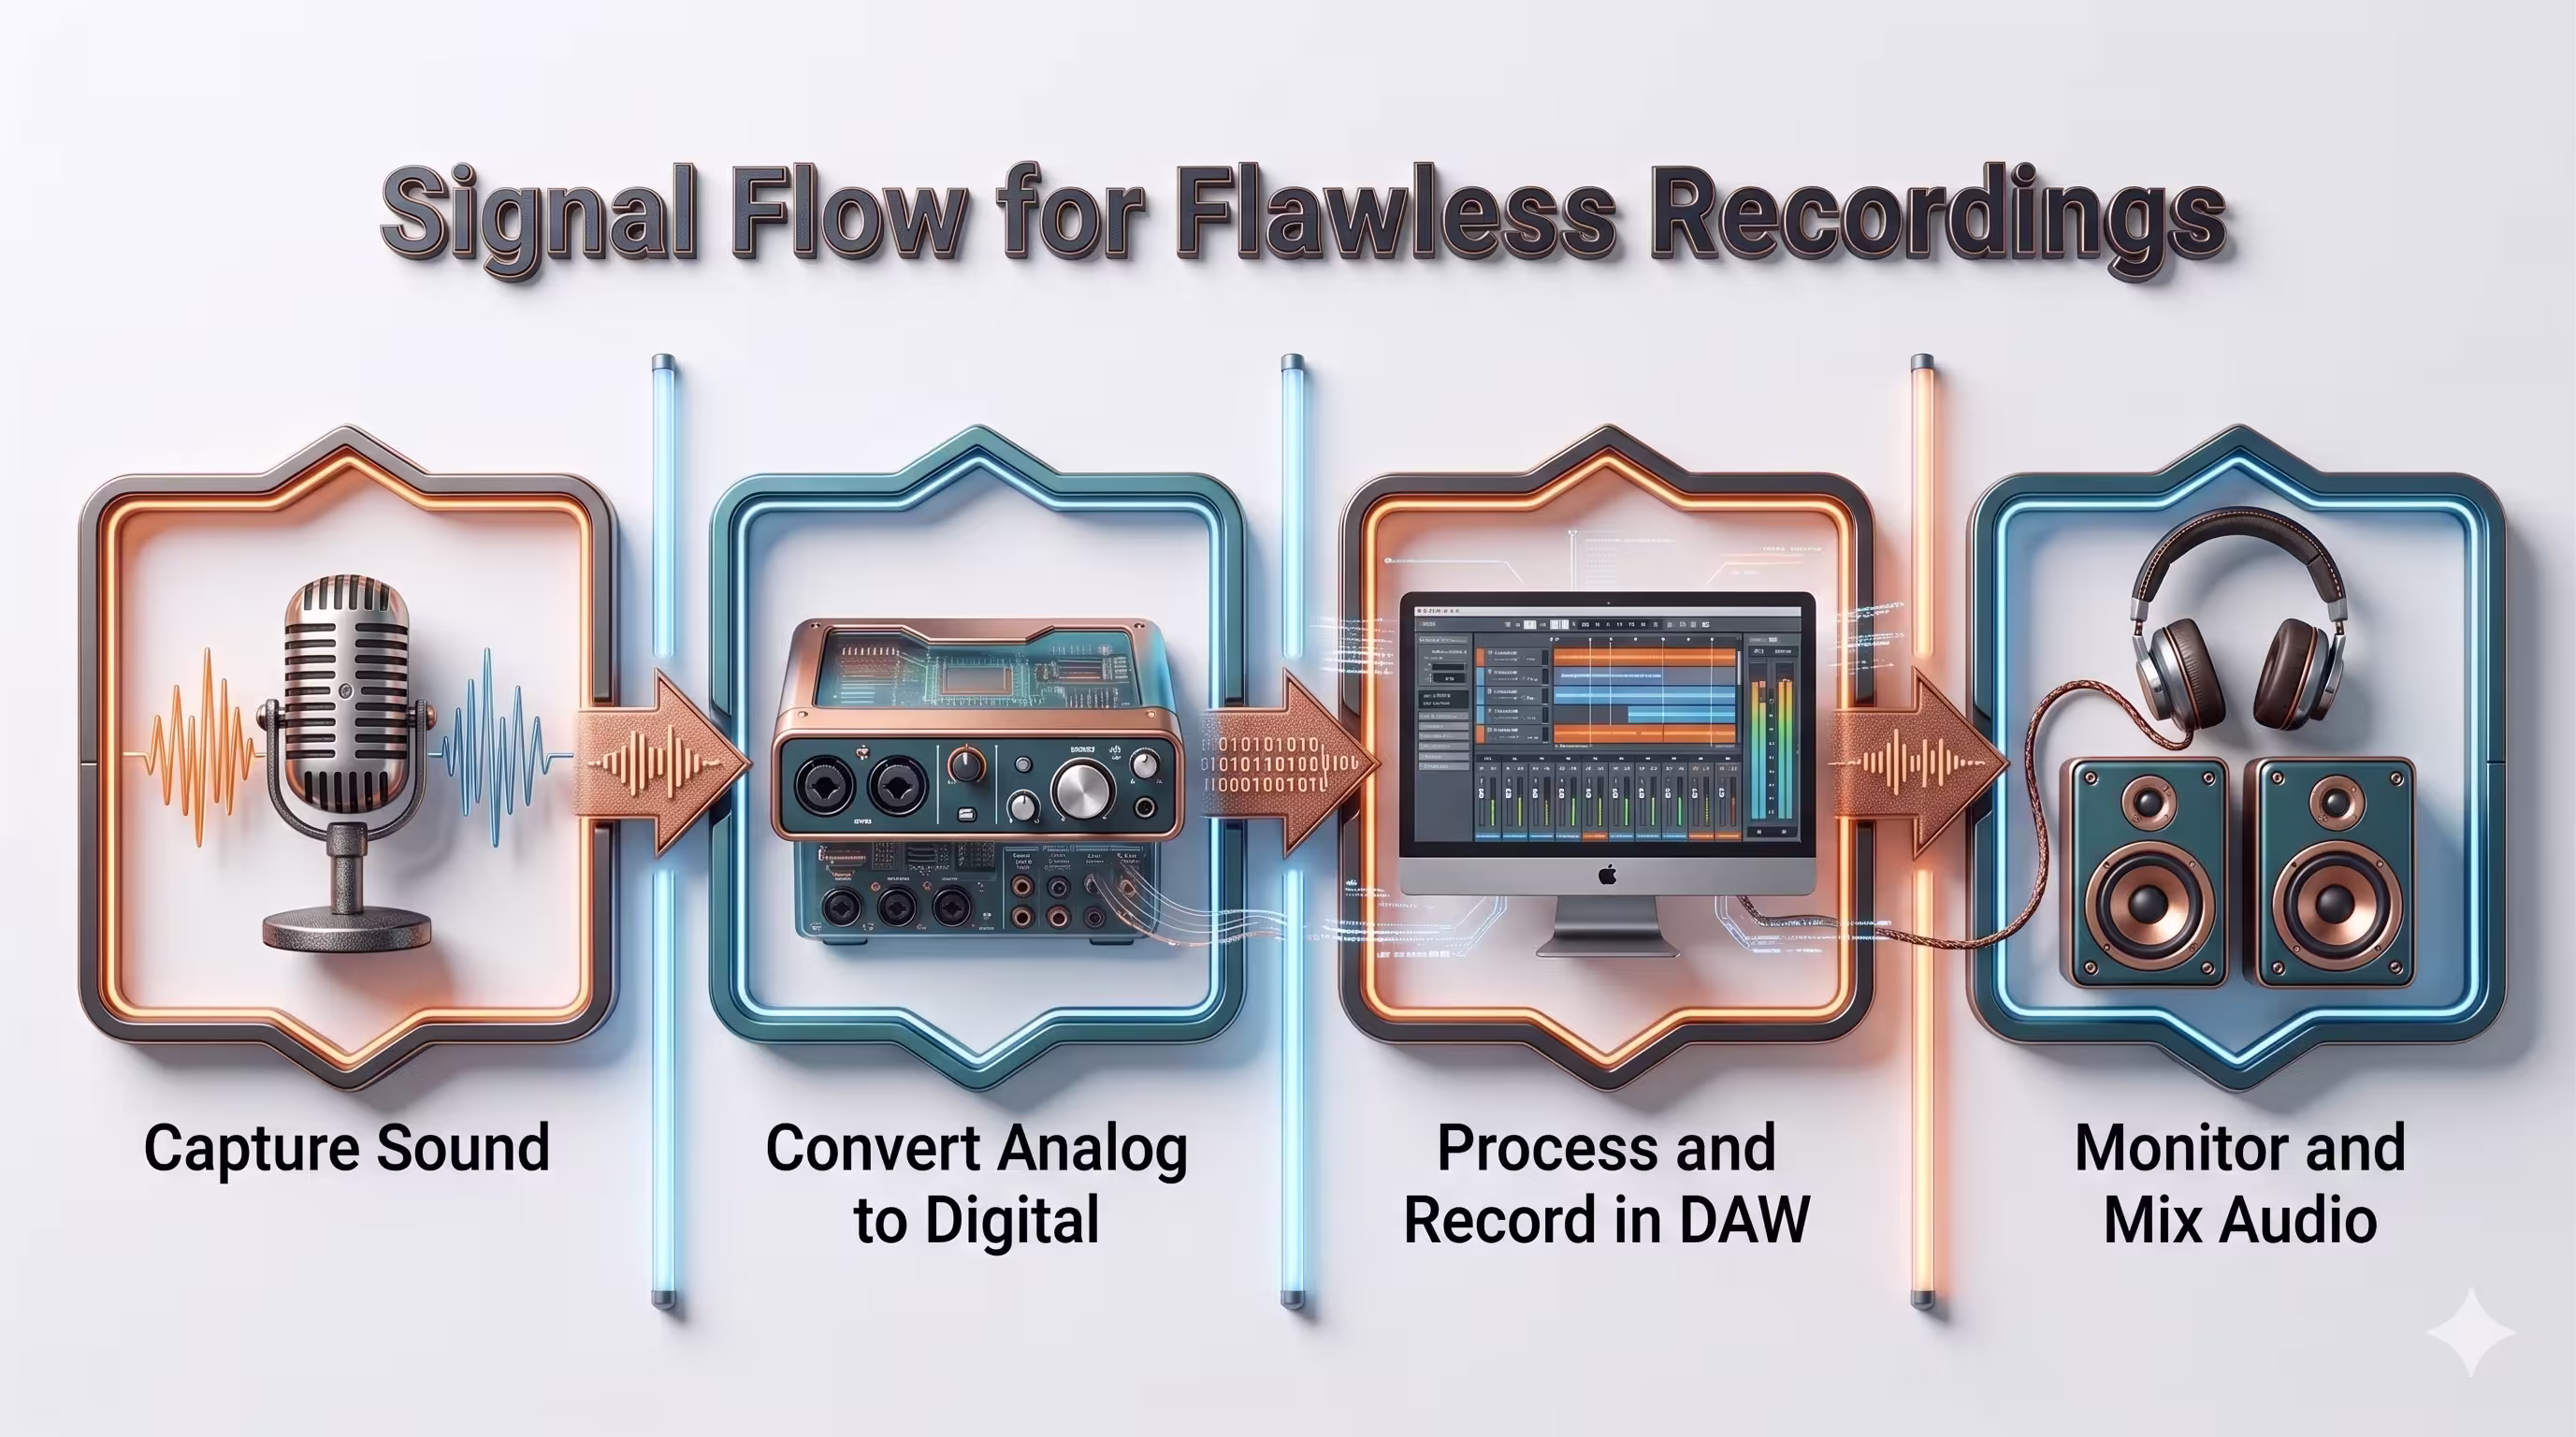
Understanding Signal Flow for Flawless Recordings
Most recording problems aren’t mysterious. They’re signal-flow problems.
Think of signal flow as a digital assembly line. Each stage has one job. If something goes wrong, you trace the path until you find the weak link.
Audio path
For spoken-word recording, the path usually looks like this:
- Microphone captures the voice
- Interface preamp raises the signal
- Converter turns analog into digital
- Computer and recording software store the file
- Headphones or speakers let you monitor the result
That’s the core chain. If the voice sounds weak, noisy, distorted, or late in the headphones, the issue is somewhere along that route.
A practical way to think about it:
- If the mic is wrong for the room, the capture is flawed.
- If the preamp is weak or gain is set badly, the signal gets noisy.
- If monitoring is delayed, performance gets awkward.
- If software settings are mismatched, recordings may click, drift, or route to the wrong place.
If you need a plain-English overview of interface choices, this guide on audio interface for podcasting helps connect the hardware decisions to real recording use.
Video path
The video chain is separate, but it has the same logic.
The camera captures the image. That image is either recorded internally or sent to a switcher, capture device, or computer. From there, software records, previews, or streams it.
The trap is assuming audio and video will magically stay aligned just because both are “recording.” They won’t if your workflow is sloppy. Sync problems usually come from inconsistent routing, varying delays, or recording pieces of the production in too many disconnected systems.
Where most failures happen
In business podcast setups, these are the usual bottlenecks:
- Bad gain staging: The host sounds too quiet, so someone boosts it aggressively later and raises the noise floor.
- Wrong monitoring path: The host hears delayed audio and starts talking unnaturally.
- Mixed connection standards: USB in one place, XLR in another, adapter chains everywhere.
- Unclear master recording path: No one knows which device is the source of truth.
Field note: The cleanest setup is usually the one where every person on the team can explain the signal path in one sentence.
When you can describe the path clearly, troubleshooting becomes boring. That’s good. Boring systems produce reliable episodes.
Designing Your Studio Setup by Use Case
There isn’t one ideal recording studio equipment list for every brand. The right setup depends on who’s hosting, how often you record, and whether the show is remote, in-person, or hybrid.
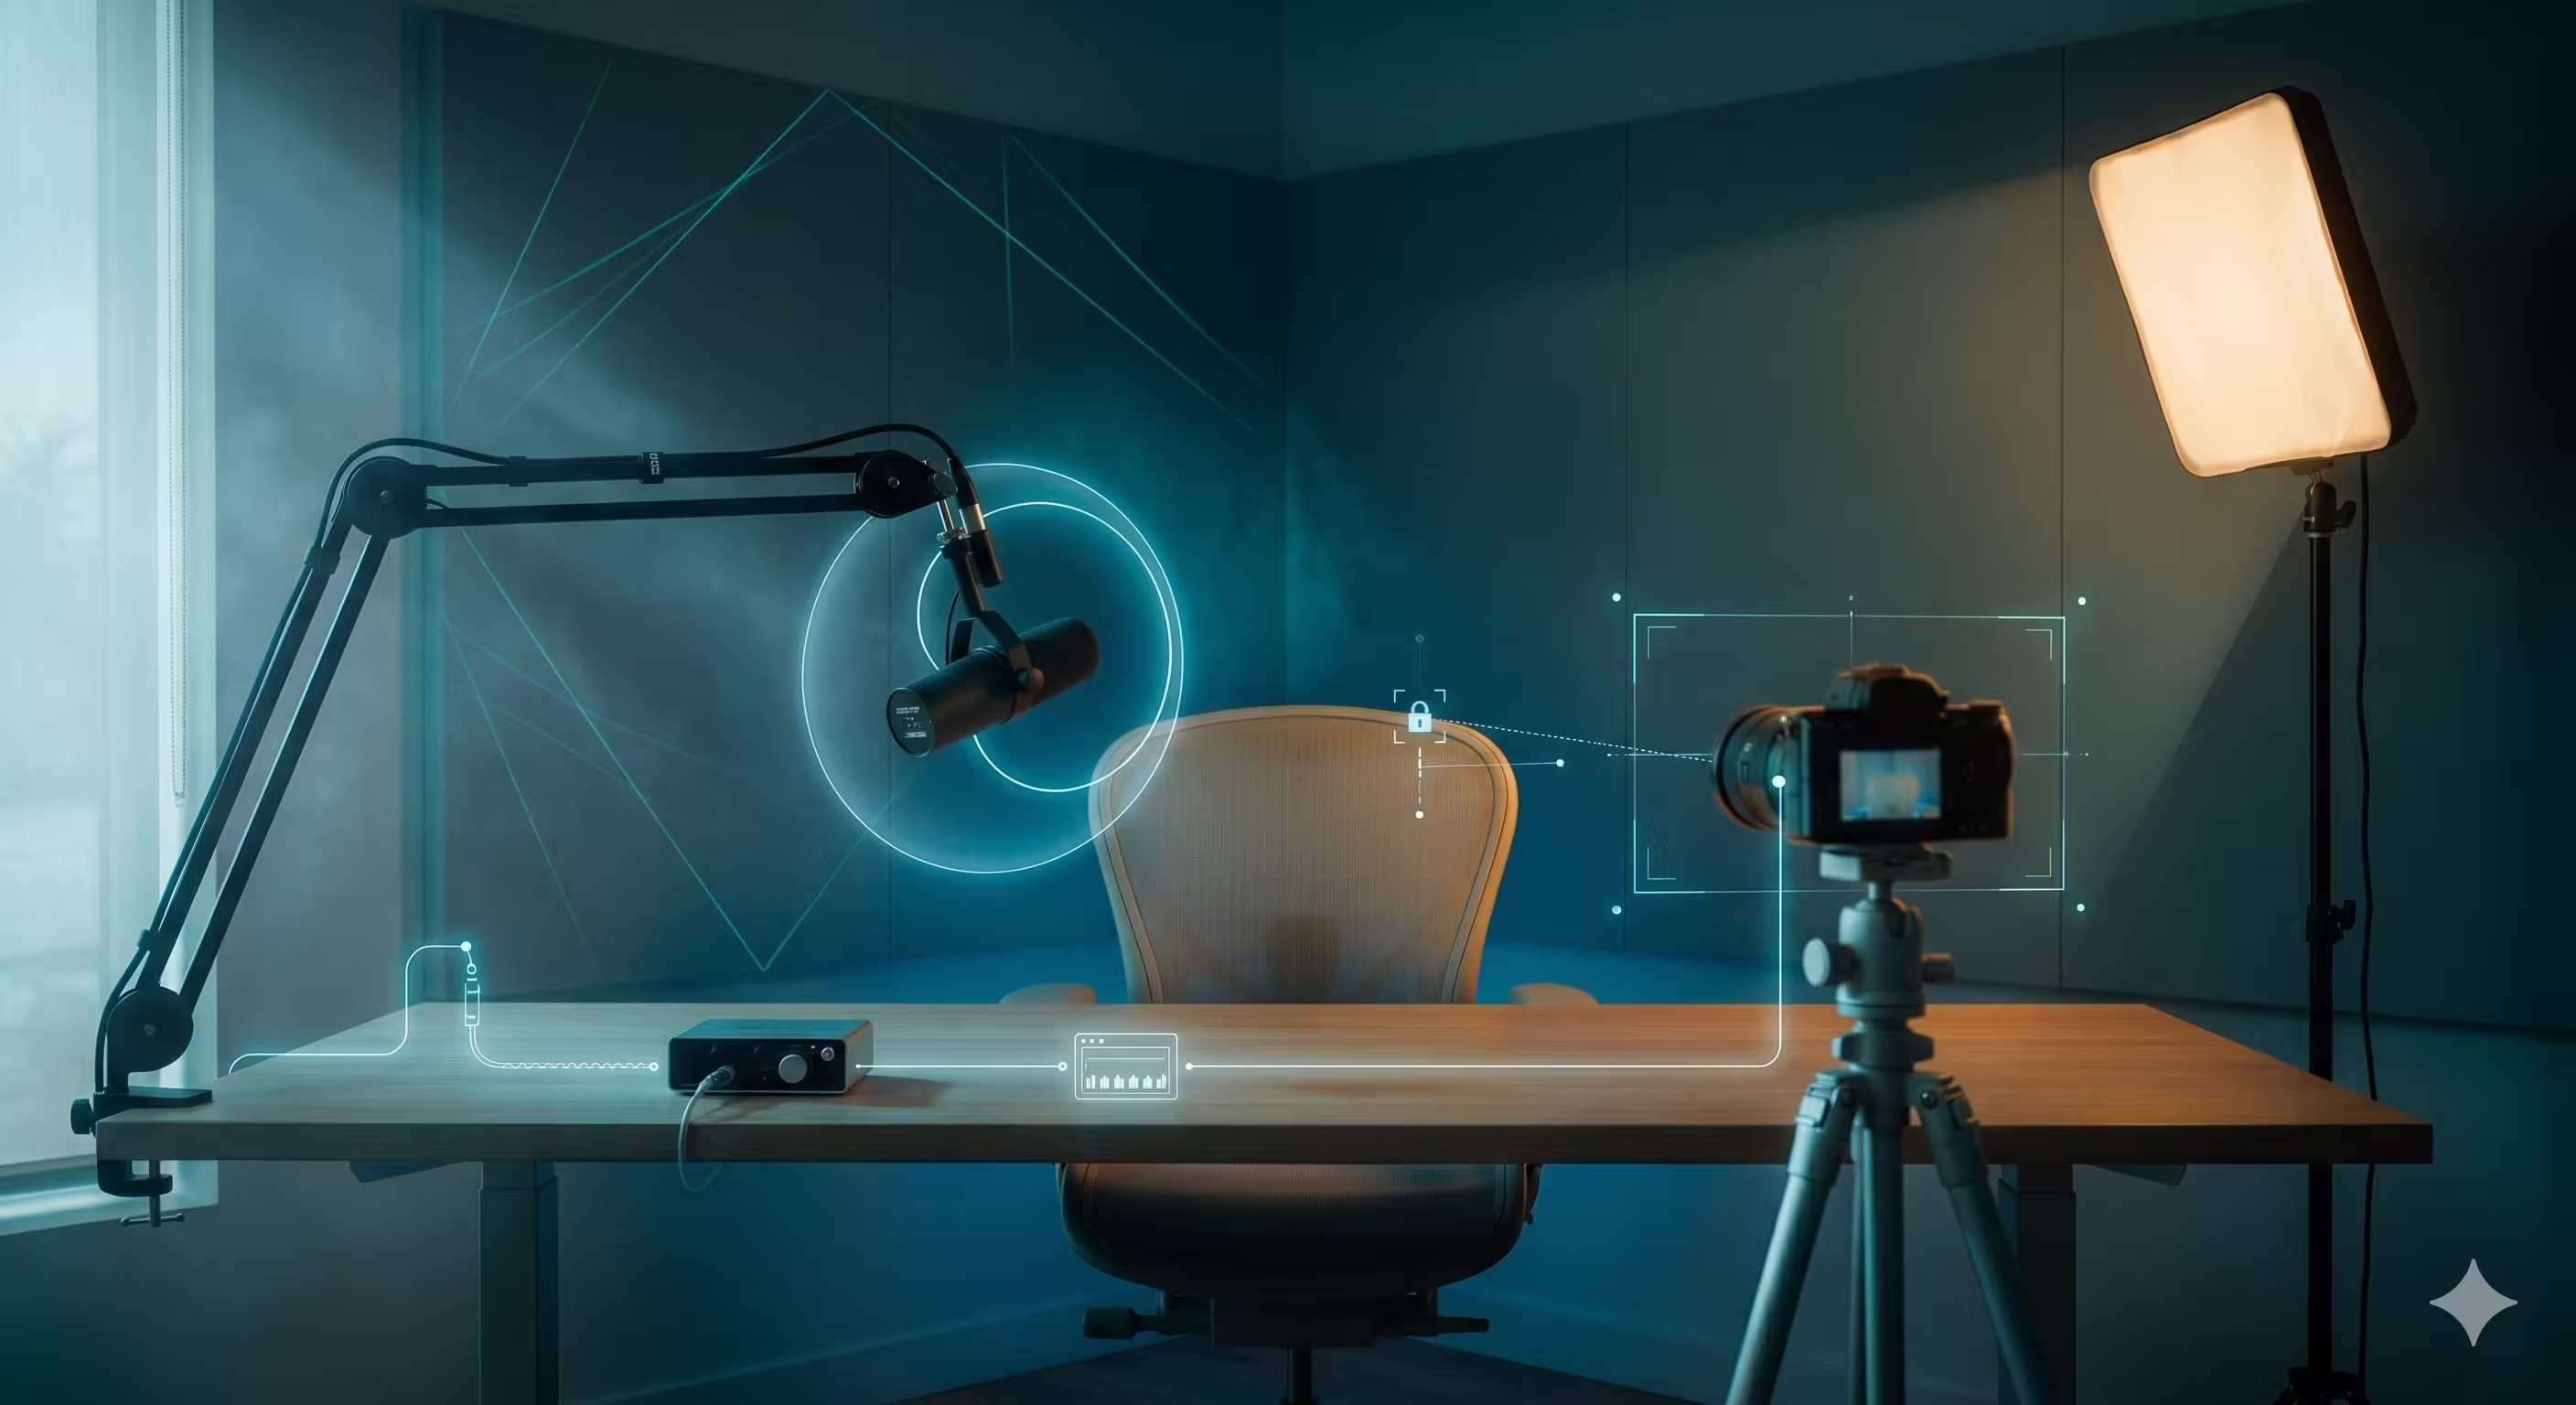
Solo executive setup
This is the most efficient build for a founder, consultant, or subject-matter expert recording a regular talking-head show.
The priority here is low friction. You want one host, one camera angle, one reliable microphone, and a setup that can stay mostly in place.
A strong solo setup usually includes:
- One dynamic microphone
- A simple audio interface with enough clean gain
- One primary camera
- A soft key light
- Closed-back headphones
- Basic acoustic treatment behind and beside the host
- A boom arm and tidy cable path
This setup works best when the host records in the same room each time and the visual format is stable. It also reduces the chance of user error because there are fewer moving parts.
Best for:
- Executive thought leadership
- Solo commentary
- Remote guest interviews where the guest joins from another location
Multi-person and hybrid setup
Once you add a second in-room speaker, complexity climbs fast.
Now you need more than “extra gear.” You need control over multiple voices, camera framing, headphone monitoring, and a practical way to manage guests who are either in the room or remote. These demands often cause many DIY studios to break because the team underestimates routing and setup discipline.
A dependable hybrid setup usually adds:
- An interface or mixer with multiple mic inputs
- Matching microphones for tonal consistency
- Two or more camera angles
- Separate monitoring for producer confidence
- Better acoustic treatment across the room
- A clear recording protocol for remote guest audio
What works here is standardization. Matching mics, repeatable camera positions, and saved lighting setups shorten prep time and simplify editing.
What doesn’t work is assembling a Franken-rig of unrelated devices that all need custom fixes every session.
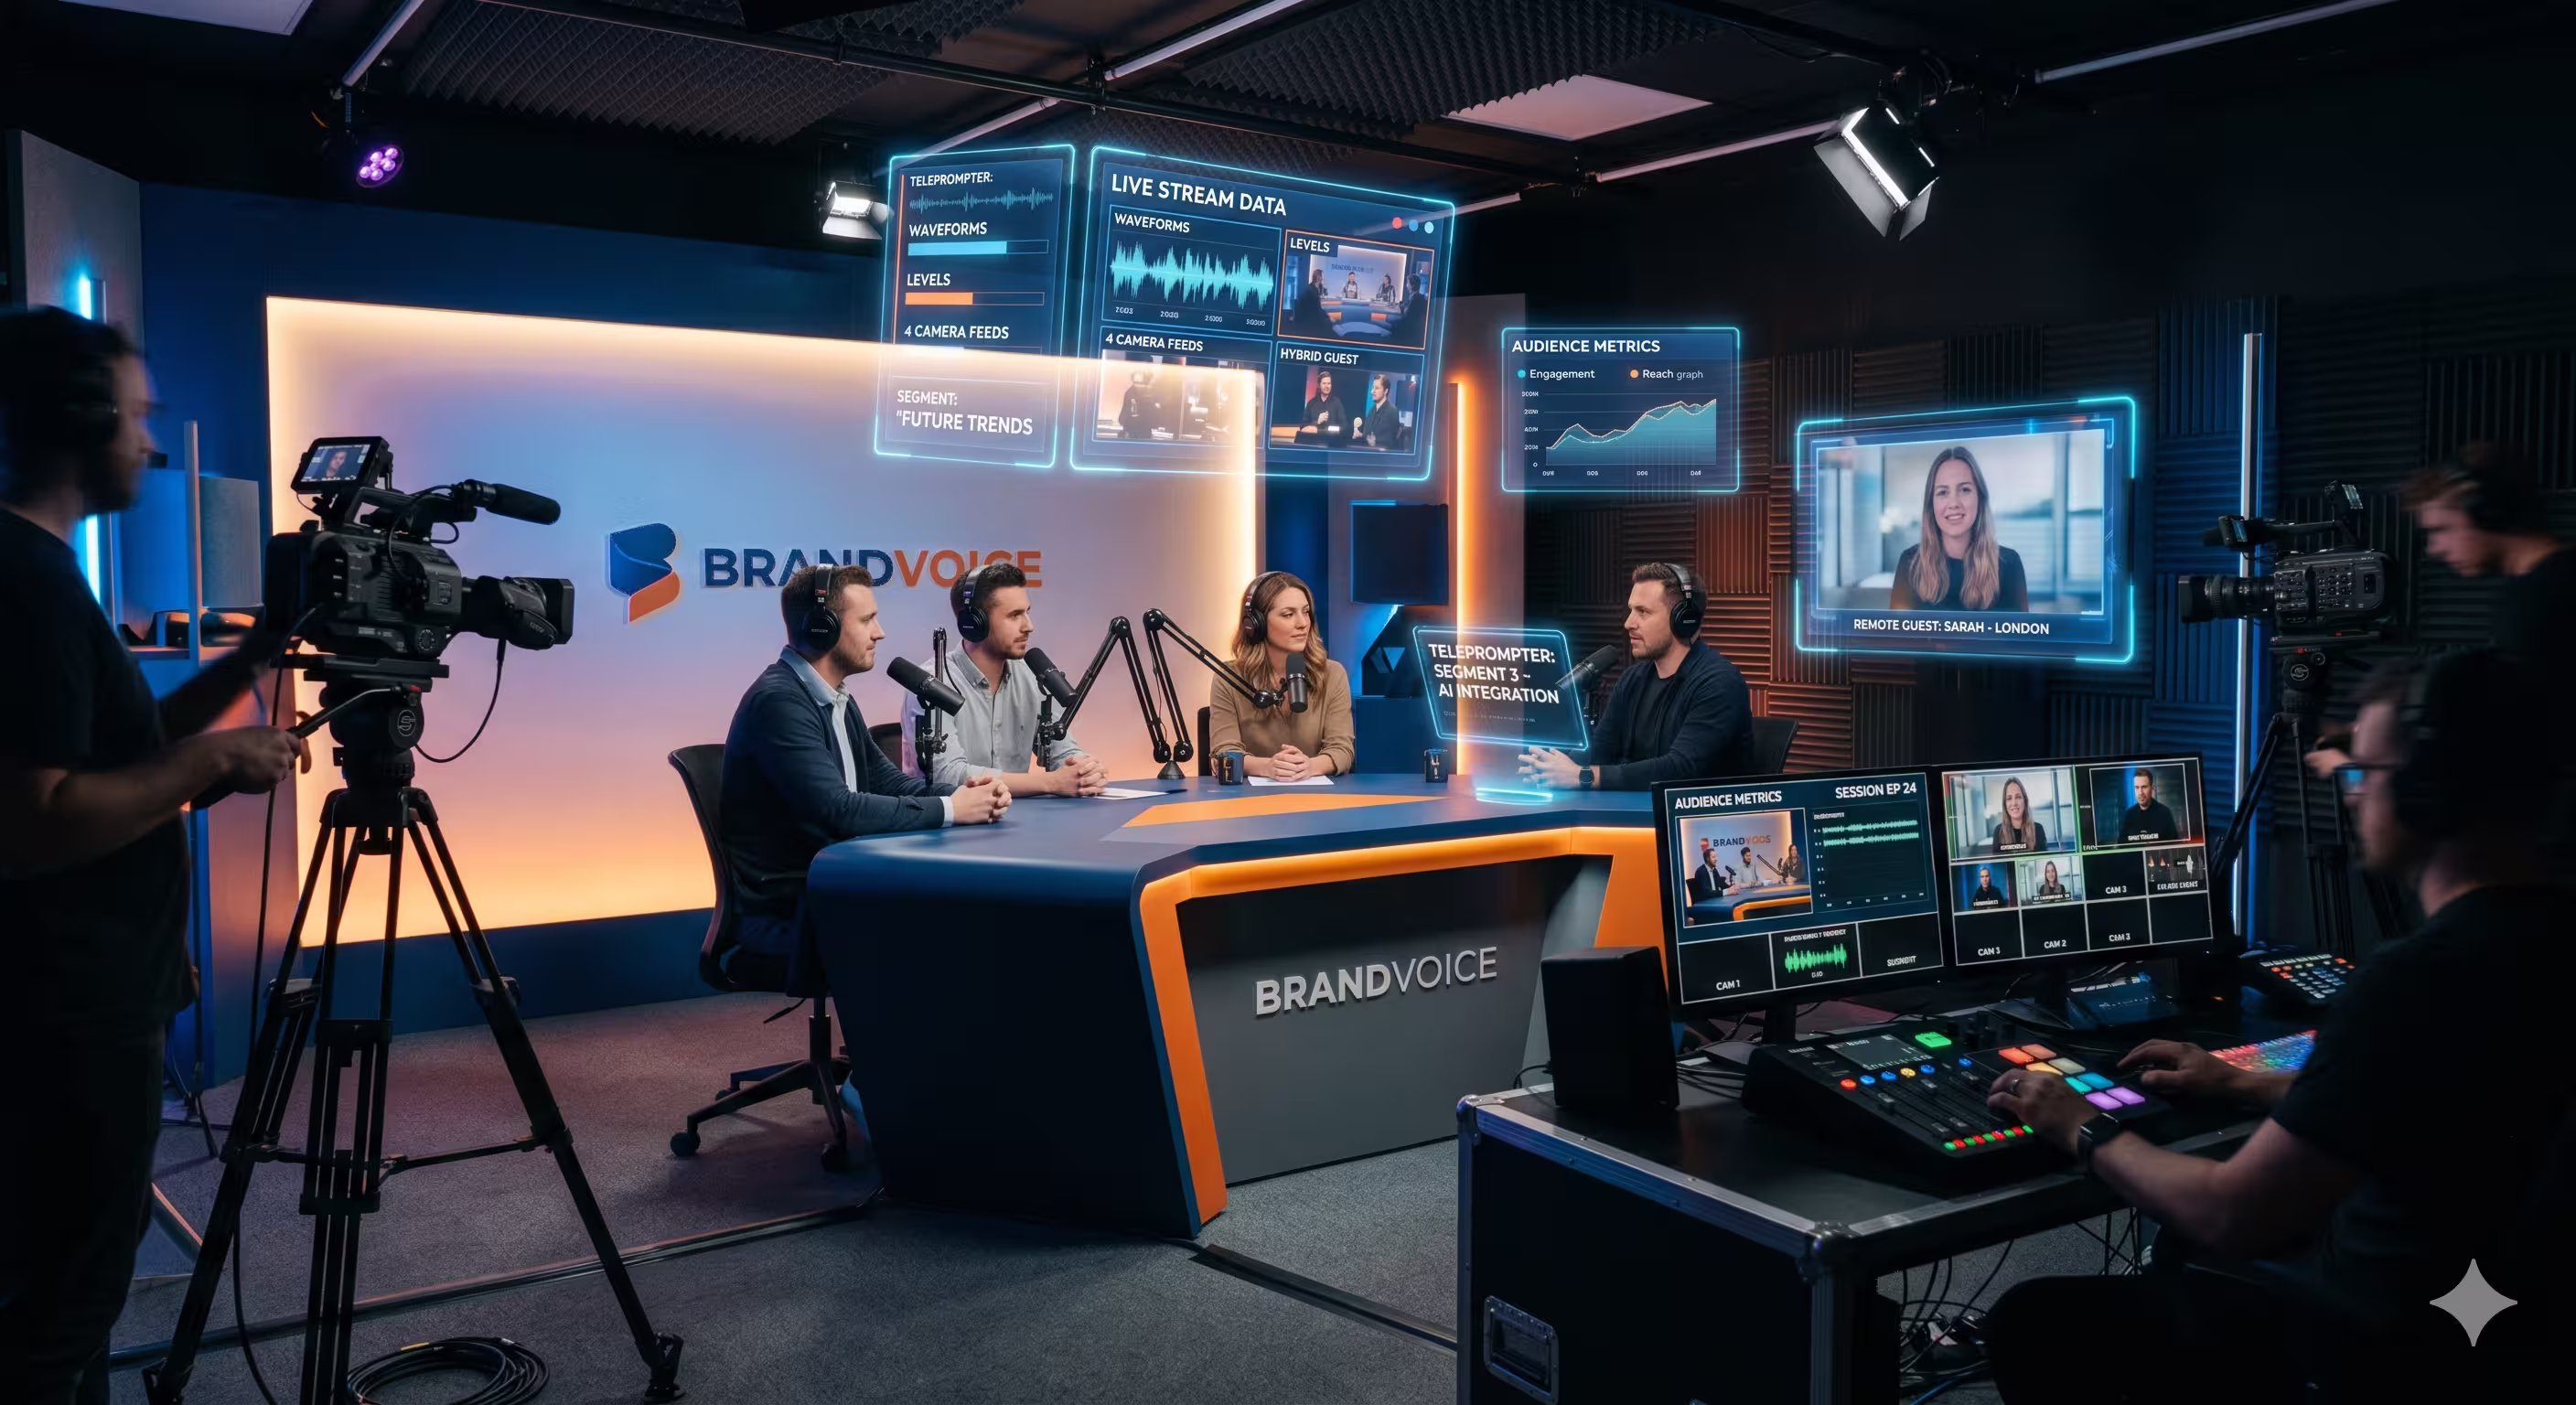
Enterprise brand studio
A dedicated brand studio is about scale and flexibility.
This setup supports recurring series, multiple hosts, guest rotation, internal teams, and a broader content engine. It’s less about one podcast desk and more about an in-house production environment.
Typical priorities:
- Multiple camera angles with consistent color
- Higher-end audio interface or routed audio system
- Dedicated treatment and room layout
- Permanent lighting grid or repeatable lighting positions
- Monitoring for both talent and operator
- Set design that matches brand identity
- Capture choices that support long-form episodes and short-form extracts
This kind of room pays off when the company records often enough to justify permanence. It’s also where hidden costs show up if the team lacks production ownership. The room might look impressive and still fail operationally if no one manages standards.
A simple comparison
Choosing the right tier
The mistake isn’t buying too little or too much. It’s buying the wrong shape of setup.
Ask three blunt questions:
- Who records most often
- How many people need to be captured at once
- Will this room stay set up or be rebuilt each session
If the answer is “one host, same desk, weekly show,” keep it lean. If the answer is “two executives, rotating guests, clips for multiple channels,” build for coordination. If your team plans to make the studio part of the brand, design for consistency first and aesthetics second.
A beautiful studio that’s hard to run creates fewer episodes than a modest studio that always works.
Beyond the Basics Acoustic Treatment and Monitoring
Teams love visible gear. Cameras look impressive. Microphones photograph well. Acoustic treatment and monitoring don’t get the same attention, even though they often determine whether the final product feels credible.
Acoustic treatment shapes the voice people hear
If your room is reflective, your recording sounds reflective. No plugin changes that fact completely.
That’s why treatment matters so much for spoken-word work. You’re not trying to make the room silent. You’re trying to stop the voice from bouncing around the room and smearing the recording.
A few practical priorities beat random foam purchases:
- Treat the wall area near the microphone position
- Reduce large reflective surfaces near the host
- Use rugs, curtains, and soft furnishings where they affect reflections
- Avoid placing hosts right against bare walls or in room corners
Blankets can help in a pinch. Proper panels are cleaner, more repeatable, and easier to integrate into a branded set. The point isn’t studio perfection. The point is control.
Monitoring protects your judgment
Monitoring decides whether you catch problems while they’re still cheap to fix.
The lesson isn’t new. The Altec Lansing Duplex 604, introduced in 1943, remained in continuous production until 1998, a span of 55 years, and became a staple in major studios like Abbey Road because engineers trusted consistent monitoring when making critical decisions (Production Expert). That principle still applies. Reliable monitoring matters more than fashionable monitoring.
For podcasts, use two kinds of listening:
- Closed-back headphones during recording so you hear noise, plosives, cable crackle, or bleed immediately
- Consistent reference playback during edit review so you don’t make decisions based on flattering consumer sound
If you only check a show on AirPods, you’ll miss issues. If you only check on large speakers in a treated room, you may miss how harsh or thin the episode feels in normal listening conditions. Good producers do both.
Listen like an editor while recording, then listen like the audience before publishing.
What this means for brand quality
Audiences may not know the term “comb filtering” or care what preamp you bought. They do notice when a podcast sounds hollow, sharp, distant, or fatiguing.
That reaction becomes a brand signal. It affects perceived professionalism, patience, and trust. Audio that feels controlled tells the viewer the team takes the content seriously.
This is why acoustic treatment and monitoring aren’t optional add-ons. They’re the difference between “we bought podcast gear” and “we built a studio people can listen to for an hour.”
Your Buying and Onboarding Checklist
Buying recording studio equipment is straightforward when you force the process into order. Most expensive mistakes happen when teams skip steps and buy based on isolated reviews.
Before you buy anything
Start with the show, not the cart.
- Define the format
Decide whether you’re recording solo episodes, interviews, roundtables, or hybrid sessions with remote guests. Equipment choices change fast once that answer is clear. - Pick the room
Don’t choose gear in a vacuum. The room determines microphone type, treatment needs, lighting layout, and camera placement. - Set your budget
Leave space for the unglamorous parts. Cables, mounts, memory media, power solutions, and acoustic treatment often get ignored until late. - Choose the operator
Someone has to own the setup. If no one owns it, the system drifts. Levels change, batteries die, and files end up in random folders.
While you’re selecting gear
Use a short decision filter.
- Compatibility: Does the mic need an interface? Does the camera play nicely with your capture workflow?
- Repeatability: Can the team recreate the same result next week?
- Serviceability: If a cable fails, can you replace it quickly?
- Training load: Can a non-technical team member operate it confidently?
A setup that requires too much tribal knowledge usually fails after the first few sessions.
After the boxes arrive
This is the phase teams rush through. Don’t.
- Inventory everything: Check that stands, adapters, power supplies, and mounting hardware are present.
- Label cables and power supplies: This saves more frustration than people expect.
- Build the full chain once: Set up audio, video, lighting, and monitoring exactly as they’ll be used.
- Install software and drivers early: Don’t discover update problems on recording day.
- Run a full test recording: Record speech, movement, room tone, and a realistic conversation.
The test recording should be boring on purpose. Boring reveals whether the system is stable.
What to verify before the first real episode
Use one final pre-flight check:
- Audio is clean and strong without clipping
- Video framing is locked
- Lighting is consistent at the host position
- Headphone monitoring works
- Recording destination is confirmed
- Backup plan is understood by the team
If this checklist feels like overkill, that’s a good sign. The best podcast operations remove drama before the guest arrives.
When to Build vs When to Outsource to a Production Service
By this point, the trade-off should be clear. Building an in-house setup can work well. It can also become a hidden drain if the business underestimates the operational side.
When building makes sense
DIY is the right move when you have a stable format, a committed internal owner, and enough recording volume to justify a permanent system.
The advantages are real:
- Control over scheduling
- Immediate access to the studio
- Long-term ownership of the equipment
- Creative flexibility for internal experimentation
If your team enjoys production and has the patience to standardize workflows, a self-run studio can become a useful internal asset.
When outsourcing makes more sense
Outsourcing wins when speed, polish, and consistency matter more than owning every technical step.
That’s often the case for founders, executive teams, and lean marketing departments. Their bottleneck usually isn’t access to gear. It’s time. Someone still has to handle remote recording support, quality control, editing, color, audio cleanup, graphics, publishing prep, and clip repurposing.
The historical analogy fits. The 1925 shift from acoustic recording to electrical microphones and amplifiers marked a major leap in fidelity and changed what professional recording could be (Wikipedia on the history of sound recording). Today’s equivalent is moving away from cobbled-together DIY processes toward managed workflows that remove technical friction.
If remote production is part of the plan, it helps to understand what a cleaner process looks like. This guide on how to record podcast remotely gives a useful baseline.
The real decision
The question isn’t “Can we buy the gear?”
It’s:
- Can we operate it consistently
- Can we maintain quality under deadline
- Can we publish without production becoming a side job for the wrong people
A studio is only valuable if it helps you release good episodes on time. If the setup steals energy from strategy, guest prep, and distribution, the business is paying in opportunity cost even if the shelves look impressive.
Frequently Asked Questions About Podcast Equipment
Do I need an XLR microphone or is USB enough
If the show is serious and meant to scale, choose XLR. USB mics can work for simple solo recording, but XLR gives you better upgrade flexibility, cleaner control over gain staging, and more room to grow into multi-person setups.
USB is fine for convenience. XLR is better for systems.
Is a condenser microphone better than a dynamic microphone
Not by default.
For many business podcasts, a dynamic mic is the safer choice because offices and home setups often have reflections, HVAC noise, and untreated surfaces. A condenser can sound excellent in a well-controlled room, but it punishes weak acoustics faster.
Should I buy a mixer or an audio interface
For most podcast studios, start with an audio interface unless you have a clear reason to need mixer-style routing or live production control.
An interface is usually simpler, cleaner, and easier for fixed podcast workflows. A mixer makes sense when you’re handling more complex live scenarios, multiple monitoring mixes, or specific routing demands.
How many cameras do I need
One camera is enough to launch. Two cameras make the edit feel more intentional. More than that only pays off if your team can manage framing, lighting consistency, file handling, and edit time.
A weak two-camera setup is worse than a strong one-camera setup.
Can software fix bad audio
Software can improve a recording. It can’t fully rescue bad capture.
If the mic is too far away, the room is too reflective, or the preamp signal is noisy, post-production can only do so much. Good recording studio equipment matters because it lets you start from a usable signal.
Do I need studio monitors if I already have headphones
Not always at the start.
You do need reliable monitoring, and that can begin with good closed-back headphones for recording plus a consistent review method. Studio monitors become more valuable when you’re editing in-house and want a stable speaker reference. If your room is poor and untreated, expensive monitors won’t solve the underlying problem.
What’s the smartest first upgrade
Usually one of these:
- Acoustic treatment
- A better microphone position
- A cleaner interface
- Better lighting
The smartest upgrade is the one that removes the biggest bottleneck in the current setup. That’s often less glamorous than buying a new camera body.
Should I build for today or for the future
Build for the next clear phase, not for a fantasy version of the show.
If you have one host and no real plan for in-person roundtables, don’t buy a complex multi-operator rig. If you already know the show will expand to interviews and clips, leave room in the design for that growth. Good systems scale in steps.
If you want a faster path from idea to a polished show, micDrop helps brands launch and run remote-first video podcasts without turning internal teams into ad hoc production crews. Their workflow covers guided recording, editing, sound design, motion graphics, publishing support, and multi-platform repurposing, so your team can focus on the conversation and the content strategy instead of troubleshooting gear.


