Achieve Pro Quality: Learn how to record podcast remotely
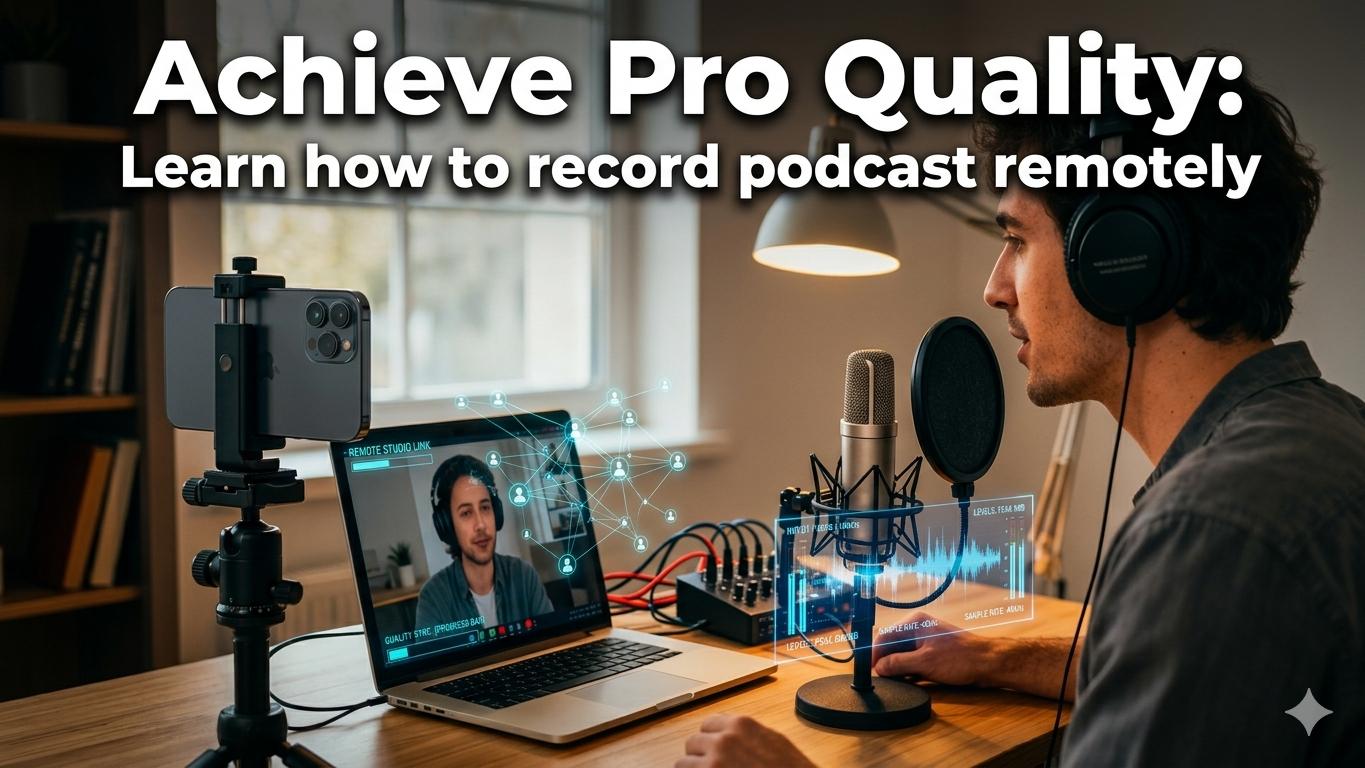
If you want to record a podcast remotely and have it sound like everyone was in the same room, the secret is double-ender recording software. This approach captures high-quality, local audio and video from each person, completely sidestepping the glitches and compression you get from platforms like Zoom. A solid pre-flight tech check and a clear post-production plan are just as crucial.
Why Remote Podcasting Is the New Standard
Remote podcasting isn't a backup plan anymore; it’s the main event for creators and brands who want to connect with a global audience. It blows the doors wide open, letting you talk to anyone, anywhere. This isn't just about convenience—it's about creating better content.
The real game-changer has been the explosive growth of video podcasts. By early 2025, YouTube was already seeing 1 billion monthly podcast viewers. Think about that. More than half of all Americans (51%) have watched a video podcast, and 27% tune in weekly, especially Gen Z and Millennials. You can see more on these trends in these video podcasting statistics from 2026. The audience is there, and they expect to see you.
Key Remote Recording Methods At a Glance
Before we get into the nitty-gritty, it helps to understand the main ways people record remotely. Each has its pros and cons, and this table gives you a quick lay of the land.
This guide focuses on the local/double-ender method because it delivers the best results for most podcasters, but it's good to know your options.
The Modern Podcasting Workflow
To keep up, you need a workflow that's both reliable and scalable. Trying to manually sync separate audio files or using basic meeting software just won't cut it for producing professional content consistently.
A modern remote setup gives you three huge advantages:
- Access to Global Talent: Your guest list is no longer limited by geography. You can bring on top-tier experts and collaborators from anywhere in the world.
- Cost and Time Savings: Say goodbye to travel costs, studio rentals, and time wasted in traffic. You can put those resources back into creating more content.
- Flexibility and Consistency: Life is unpredictable. Remote workflows mean you and your guests can record from almost anywhere, so you never have to miss an episode.
The core idea behind professional remote recording is simple: separate the conversation from the recording. You talk to each other over the internet, but the software records perfect audio and video directly on each person's computer, bypassing any network hiccups.
The entire process breaks down into three main stages: recording, editing, and publishing.
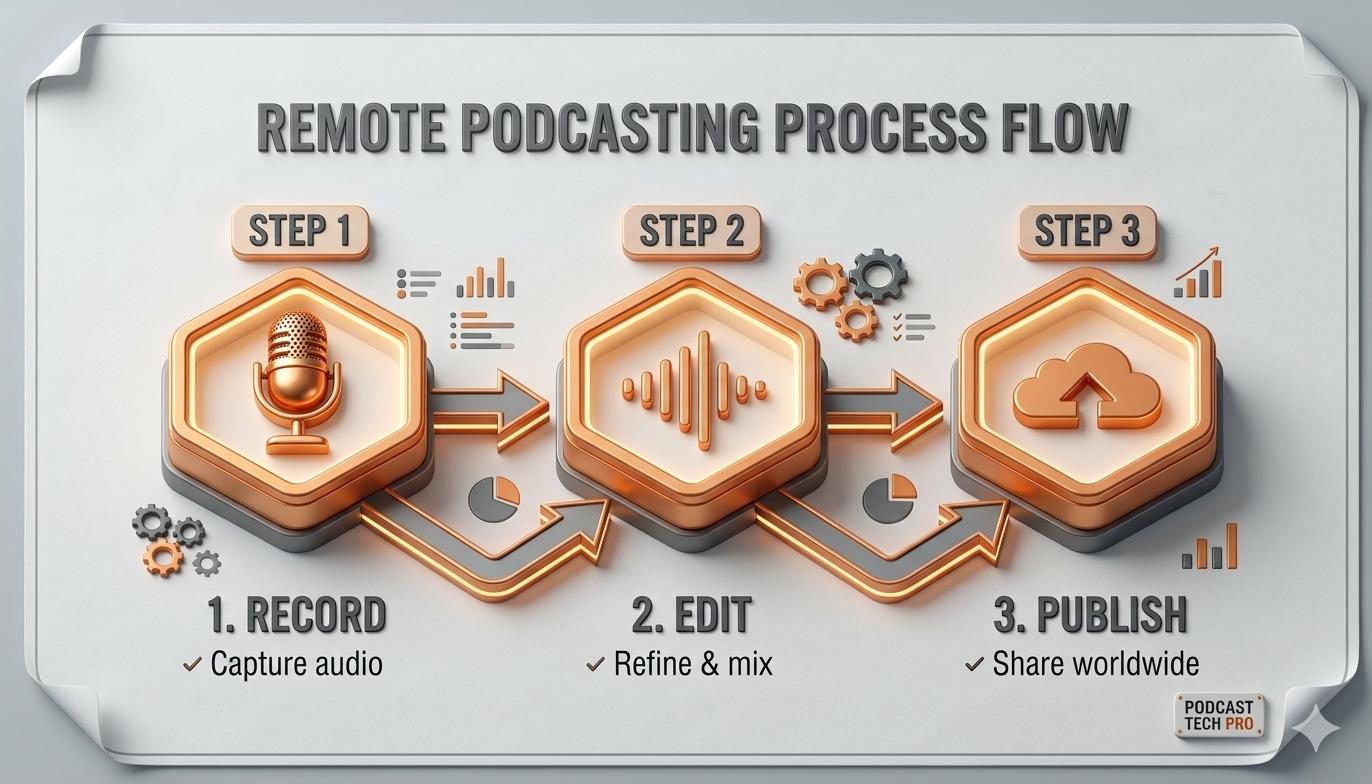
This simple flow is your roadmap. We'll walk through exactly how to master each phase, turning your raw conversations into polished, ready-to-share content.
Laying the Groundwork for a Flawless Recording
A great remote podcast doesn't just happen when you hit record. The real magic begins long before, with smart and thorough preparation. This is the secret to sidestepping the technical hiccups and awkward silences that can tank an otherwise great conversation. Think of it as setting the stage—get this right, and you can focus entirely on your content and your guest.
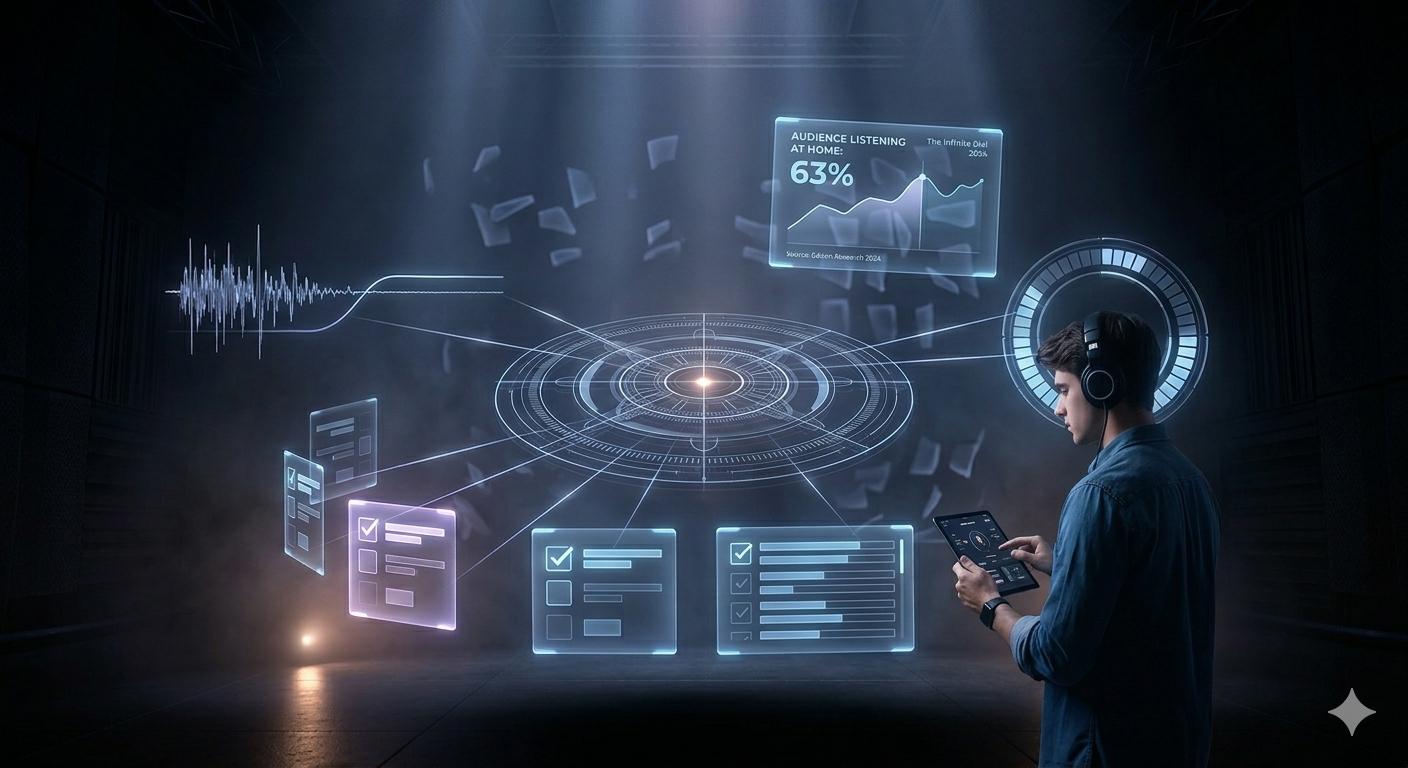
This prep work is more critical than ever. As more people listen from home, their ears are attuned to production quality. According to Edison Research's "The Infinite Dial 2024" report, 63% of weekly U.S. podcast listeners tune in from home, a figure that has grown significantly since 2017. When your audience is listening in a controlled environment, your audio quality has to be on point.
Create a Shared Run-of-Show
The single most important document for any recording session is the run-of-show. This is your shared roadmap, outlining the episode from start to finish. It’s not a rigid script but a flexible guide that keeps both you and your guest on the same page.
A solid run-of-show should map out the entire session:
- Pre-Show Chat: A 5-minute buffer to warm up before the recording starts.
- Episode Intro: Your scripted opening to guarantee a strong, consistent start.
- Key Talking Points: Bullet points and questions to guide the conversation.
- Segment Timestamps: Rough time estimates for each topic to keep the show moving.
- Mid-Roll Cues: Clear markers for any ad breaks or transitions.
- Guest Plugs & CTAs: A dedicated spot for your guest to promote their work.
- Episode Outro: A scripted close to wrap things up professionally.
Using a collaborative tool like Google Docs lets everyone see the plan and add their own notes. This simple step prevents confusion and makes the whole experience feel less like an interview and more like a true conversation.
A detailed run-of-show is the difference between a chaotic recording and a professional, structured conversation. It's the best tool for making sure you cover all your bases without wasting a single second.
The Essential Guest Welcome Kit
When your guest isn't a seasoned podcaster, you need to make the process completely painless for them. A "Guest Welcome Kit"—a simple document or email—is how you do it. It sets expectations, provides clear technical instructions, and prevents last-minute surprises.
Your kit should clearly spell out the essentials:
- Recording Date, Time, and Link: The absolute basics.
- Tech Requirements: Be direct. They need a quiet room, a stable internet connection, and headphones. Headphones are mandatory to prevent echo.
- Microphone Guidance: Ask them to use an external mic if they have one. Even the wired earbuds that came with their phone are a huge step up from a laptop's built-in mic. For more ideas, check out our guide on recommended microphones for podcasting.
- Recording Etiquette: Simple tips like silencing their phone, closing extra browser tabs, and looking into the camera.
This bit of prep empowers your guests and turns them into active partners. A well-informed guest is a confident and relaxed guest, and that always leads to a better show.
Conduct a Mandatory Tech Dry-Run
Whatever you do, don't skip the tech dry-run. Schedule a quick, 10-minute call a day or two before the real recording with everyone involved. This isn't just a friendly check-in; it's a mandatory dress rehearsal for your technology.
Use this time to:
- Confirm everyone can get into the recording software.
- Check that their mic and camera are correctly selected and working.
- Listen for any echo, background noise, or other audio issues.
- Glance at their video framing and lighting, offering simple tips for improvement.
This one 10-minute meeting can solve 99% of potential technical problems before they ever get a chance to ruin your recording. It swaps day-of stress for confidence, freeing you and your guest to focus on what really matters: the conversation.
Choosing Your Remote Recording Tech Stack
Let's talk about the gear. Getting your tech stack right is probably the biggest decision you'll make when you start recording a podcast remotely. It's the very foundation of your show's quality, and nailing it from day one will save you a world of headaches later on.
The good news? You don't need a Hollywood budget to sound and look professional anymore.
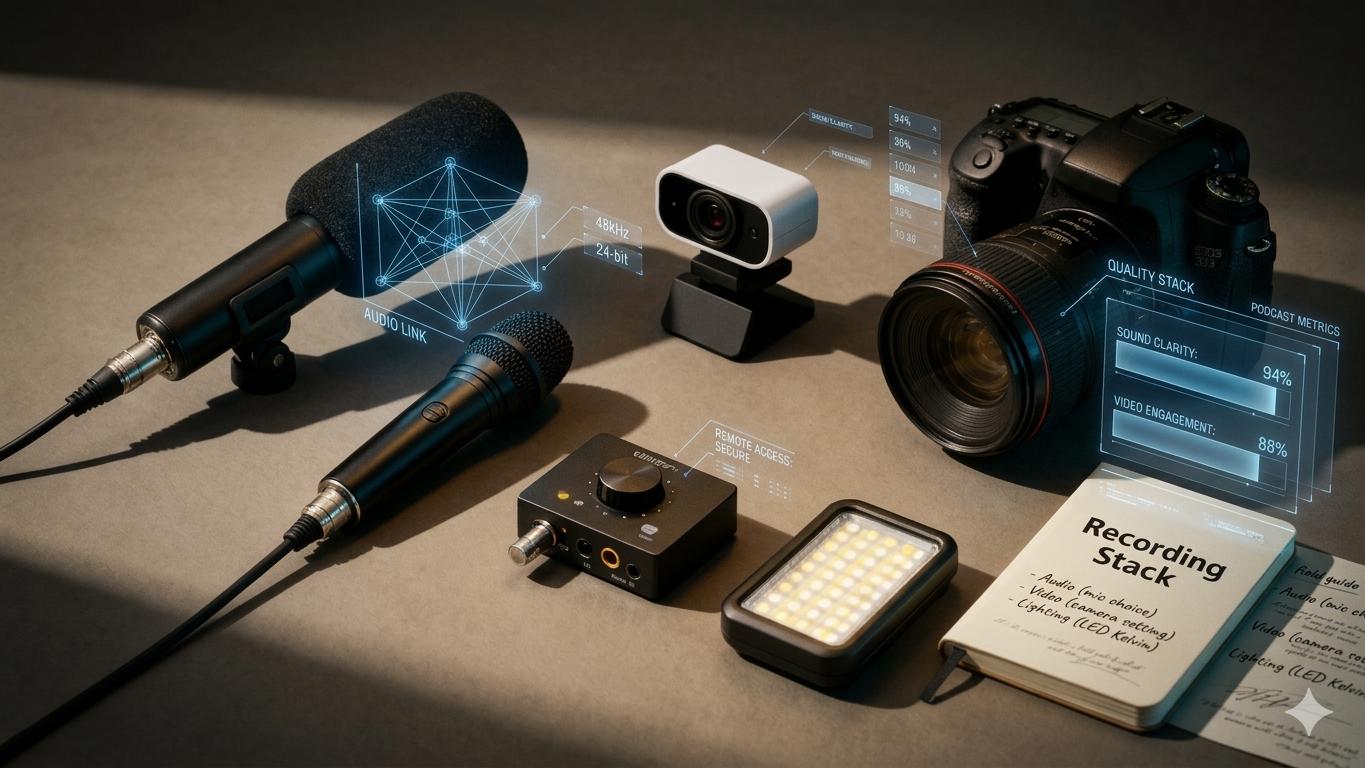
It all comes down to a balanced setup. Think of it as a three-legged stool: great audio, clear video, and good lighting. Get those three working together, and you've got a polished, professional show that people will actually stick around for.
Audio Is Everything: Your Microphone Choices
If there's one area you absolutely cannot skimp on, it's audio. Listeners will bail on a show with bad sound almost instantly—way before they’d ever complain about a grainy video feed. Your main decision here is between a USB and an XLR microphone.
- USB Microphones: These are your perfect entry point. They’re plug-and-play, connecting right to your computer, and are incredibly easy to use. Models like the Blue Yeti or Audio-Technica AT2020 offer fantastic quality for their price and are a massive leap from your laptop's built-in mic.
- XLR Microphones: This is the pro standard. XLR mics plug into an audio interface, which then connects to your computer. The sound quality is a clear step up, and you get way more control, but it does mean a bit more of a learning curve and a bigger investment. If you're ready to make the jump, our guide to choosing an audio interface for podcasting breaks it all down.
For most remote podcasts, asking your guests to use a solid USB mic is the perfect compromise between quality and convenience. Honestly, even just getting them to use the wired headphones that came with their phone is a huge upgrade from their computer’s tinny microphone.
Upgrading Your Visuals: Camera and Lighting
Podcasting is a visual game now, thanks in large part to YouTube. If you want to grow your audience, you need high-quality video. The numbers don't lie: one in three U.S. podcast listeners now prefer YouTube for their content.
And with 51% of Americans having watched a video podcast, sticking to audio-only means you’re leaving a massive chunk of your potential audience behind. These trends are only accelerating, as you can see from recent podcast statistics.
For your camera, it really comes down to webcams versus DSLRs.
- Webcams: A modern webcam like the Logitech C920 or Brio can give you crisp 1080p or even 4K video. They're simple, effective, and offer the best bang for your buck when you're starting with video.
- DSLRs/Mirrorless Cameras: For that cinematic, blurry-background look (shallow depth of field), nothing beats a DSLR or mirrorless camera. You'll need a capture card like the Elgato Cam Link to hook it up to your computer, which adds to the cost and complexity.
Pro Tip: Good lighting is the secret ingredient that makes any camera look ten times better. A simple three-point lighting setup—a key light, a fill light, and a backlight—will instantly make your video look more professional.
The Make-or-Break Choice: Your Recording Software
This is it. Your recording software is the heart of your entire remote operation. While platforms like Zoom are fine for a quick meeting, they aggressively compress your audio and video. That’s what causes those frustrating dropouts and "robot voices" that kill the quality of your recording.
This is where dedicated remote recording platforms change the game.
They are all built on a simple but brilliant principle: double-ender recording. Instead of recording the compressed stream over the internet, the software records each person’s audio and video locally on their own computer in full, uncompressed quality. After the session, it uploads those perfect, high-res files to the cloud. Internet glitches and bandwidth problems become totally irrelevant to your final product.
To help you decide, here’s a quick look at the most popular options available.
Remote Recording Software Comparison
Specialized platforms like SquadCast even provide a virtual "green room" where you and your guests can chat, test your gear, and get comfortable before you officially hit record. This small feature makes a huge difference in helping everyone relax and focus on what matters: the conversation.
Choosing the right tool from this list really depends on your budget, technical comfort, and how much time you want to spend on production versus creating great content.
Executing a Flawless Remote Recording Session
You’ve done all the prep work, your gear is set, and your guest has arrived in the virtual studio. The moment you hit 'record', everything changes. Your focus has to pivot from the technology to the person on the other side of the screen.
It’s these in-the-moment best practices, for both you and your guest, that will turn a good remote podcast recording into a truly great one.
Even with the best preparation in the world, the live recording is where your final quality is made or broken. Let's walk through exactly how to manage the session so you walk away with incredible content every single time.
Optimizing Your Recording Environment
Your immediate surroundings have a massive impact on your final audio and video. Before the real conversation gets going, run a final check on your space. This isn't about building a professional studio overnight; it's about controlling the variables you can.
Have both yourself and your guest quickly run through this mental checklist:
- Silence All Notifications: Put phones on silent. Turn off all desktop notifications. That one little "ping" can completely derail a powerful moment.
- Close Unnecessary Apps: Shut down any programs or browser tabs you're not actively using for the recording. This frees up your computer's processing power and stops the fans from kicking into high gear.
- Find Softer Surfaces: If possible, record in a room with carpets, curtains, or even a bookshelf. Hard, empty surfaces like tile and bare walls create echo, and that’s a nightmare to fix in post-production.
- Listen for Background Noise: Is a refrigerator humming? An air conditioner running? Is a window open to a busy street? Minimize these ambient sounds before you start.
Taking less than a minute to do this makes a huge difference in the raw audio you capture. It's a fundamental part of learning how to record a podcast remotely like a pro.
The Host’s Role During the Session
As the host, you’re the captain of the ship. Your job goes way beyond just asking questions. You're responsible for the energy, the pacing, and the technical side of the entire session. A great host can steer the conversation and manage the recording without the guest ever feeling a thing.
Here are your key responsibilities in the moment:
- Give Non-Verbal Cues: Use nods, smiles, and hand gestures to show you’re locked in. This is critical for video podcasts, making the conversation feel connected and natural, not like two people staring at screens.
- Manage the Clock: Keep one eye on your run-of-show. If you're running long on a topic, gently guide the conversation forward. A simple transition like, "That's a fantastic point, and it actually leads me to my next question about..." works perfectly.
- Monitor the Tech: Discreetly check that your recording software is still running and that audio levels are healthy. If you spot an issue, calmly pause the conversation to fix it.
A great host is also a great producer during the call. Your ability to calmly manage the flow and tech in real-time ensures that you capture the best possible material without creating stress for your guest.
Simple but Crucial Advice for Guests
Making your guest feel comfortable is everything. Most guests aren't professional broadcasters, so giving them a few simple, actionable tips can radically improve their delivery and your final video quality.
Share these tips with them during your pre-show chat:
- Look at the Camera Lens: It feels natural to look at the other person's face on your screen, but encourage them to speak directly into the camera lens when they’re making an important point. This creates a powerful, direct connection with the audience.
- Use Natural Hand Gestures: Don't be afraid to talk with your hands like you normally would. It injects so much energy and personality into the video.
- Don't Sweat the Small Stuff: Reassure them that "ums," "ahs," and small coughs are completely normal. Let them know it will all be easily cleaned up in the edit. This gives them permission to relax and just speak their mind.
Always Have a Backup Plan
No matter how solid your software is, tech can and will fail you at some point. A power outage, an internet drop, or a software crash can happen to anyone. A simple backup recording is your ultimate safety net.
The easiest method? Have everyone run a secondary audio recording on their smartphone. Just open the voice memo app, place the phone near the microphone, and hit record. This low-tech solution has saved countless episodes from disaster and gives you incredible peace of mind.
For a company like micDrop, managing these kinds of backups is built right into the service, ensuring you never have to worry about losing a great interview to a technical glitch.
Turning Raw Files into a Polished Episode
You’ve just wrapped a great recording. The conversation was fantastic, but now you’re looking at a folder full of raw audio and video files. This is where the real magic happens—post-production.
This is the process of taking those raw ingredients and crafting them into a cohesive, professional episode that’s ready for your listeners.
Fair warning: post-production is easily the most time-consuming part of podcasting. It’s where technical skill meets creative vision, and it’s what separates an amateur recording from a truly polished show.
Taming the Digital Chaos
Before you even think about opening your editing software, you need to get organized. When you record remotely with a double-ender setup, you'll get separate audio and video files for every single person. It can get messy, fast.
A simple, repeatable folder structure is your best friend here. For every episode, create a main folder and then add sub-folders for:
- Raw Recordings: The original, untouched audio (WAV) and video (MP4) files.
- Project Files: Where you save your work-in-progress from your editing software.
- Audio Elements: Your intro/outro music, sound effects, and ad reads.
- Graphics & Video: Logos, lower thirds, B-roll, and any other visual bits.
- Final Exports: The finished episode, ready for different platforms.
This system keeps everything neat and tidy, which is a lifesaver, especially if you plan to hand the project off to an editor.
Think of post-production like cooking. Your raw files are the ingredients, and editing is how you combine them into a delicious meal. A messy kitchen (disorganized files) just makes the whole process harder and more stressful.
The Art of the Audio Edit
Your first priority is always the audio. Even if you’re making a video podcast, clean, balanced sound is non-negotiable. The goal is to make listening feel effortless.
This stage usually involves a few key steps:
- Syncing Tracks: The first job is to line up the separate audio and video tracks from each participant. A simple clap sync at the start of your recording makes this take seconds.
- The Rough Cut: This is where you start shaping the story. You’ll cut out false starts, long pauses, distracting "ums" and "ahs," and any big mistakes or tangents that don't serve the episode.
- Audio Processing: Here comes the technical magic. This includes noise reduction to kill background hum, equalization (EQ) to make vocals pop, compression to even out volume levels, and de-essing to soften those sharp "s" sounds.
- Mixing: Finally, you blend all the different pieces—the dialogue, music, and any sound effects—into a balanced final product. You want to make sure your intro music doesn't drown out the speakers and that everyone is at a consistent volume.
If you're just starting out, Audacity is a fantastic free tool for audio editing. For a great starting point, our guide on editing a podcast in Audacity can walk you through the essentials.
Assembling the Video
Once your audio is sounding pristine, you can turn your attention to the video. For a remote podcast, this means creating a dynamic multi-camera edit. Just showing a static grid of all your speakers for an hour is a huge missed opportunity.
A strong video edit involves:
- Camera Switching: Cut between speakers to focus on who is talking. This mimics a live television broadcast and keeps viewers locked in.
- Adding Graphics: This is where you add lower thirds to introduce your speakers, pop your show's logo on screen, and use text overlays to highlight key points or calls to action.
- Color Correction & Grading: Because everyone records in a different space with different lighting, you'll need to adjust the color and brightness of each video track to make them match. This step is crucial for a professional, cohesive look.
Repurposing for Maximum Reach
Don’t stop at the long-form episode. The real power of your content comes from turning that one recording into a full-blown promotional engine. Repurposing is how you promote your show and find new audiences on other platforms.
From just one episode, you can create a whole suite of assets:
- Short-Form Video Clips: Find the most impactful 30-60 second moments and reformat them as vertical videos for TikTok, Instagram Reels, and YouTube Shorts.
- Audiograms: Pair a great audio clip with a static image or a simple waveform animation. These are perfect for sharing on platforms like LinkedIn or X (formerly Twitter).
- Quote Graphics: Pull out the most powerful quotes from your guest and turn them into shareable images for Instagram, Facebook, and LinkedIn.
This strategy ensures you get the absolute most value out of every single recording session.
The Big Decision: DIY vs. Outsourcing
So, should you do all of this yourself? Editing is a major investment in both time and skill. A good rule of thumb is that for every one hour of recorded audio, you should expect to spend 2-4 hours on post-production.
Here’s a simple way to decide what’s right for you:
- DIY Editing: This is a solid choice if you're on a tight budget, you actually enjoy the creative process, and you have the time to learn the software. You get total creative control.
- Hiring a Freelance Editor: A great middle ground. You get to offload the heavy technical lifting but will still need to manage the process, provide feedback, and handle file transfers.
- Using a Productized Service: The most efficient path for busy creators and brands. A service like micDrop delivers an end-to-end workflow, pairing you with a dedicated producer who handles everything from file organization and editing to repurposing and publishing. It’s the "done-for-you" model that guarantees consistent quality and frees you up to just focus on creating amazing content.
Your Top Remote Podcasting Questions, Answered
Even the most seasoned podcasters run into hiccups. Let's tackle some of the most common questions that pop up when you're recording remotely, so you can build a rock-solid workflow.
How Do I Handle a Guest with a Bad Internet Connection?
A spotty connection is the classic remote recording nightmare, but it doesn't have to sink your episode. Your single best defense is a double-ender recording platform. These tools record each person’s audio and video directly on their computer, so the final files are crystal clear, regardless of how bad the live call gets.
If a guest’s video starts lagging, have them kill their camera. This frees up bandwidth for their audio, which is always the priority. And for a bulletproof backup, have everyone run a local voice memo recording on their phone.
Of course, the best solution is prevention. A mandatory pre-show tech check is non-negotiable for identifying these issues before you hit record.
What Is the Biggest Mistake New Remote Podcasters Make?
Without a doubt, it’s ignoring audio quality. New creators get hung up on video and wrongly assume their laptop's built-in mic is good enough. It never is.
Poor audio is infinitely more draining for an audience than imperfect video. Listeners will forgive a grainy camera, but they will instantly bail on a podcast that sounds echoey, distorted, or tinny.
Putting a bit of budget toward a decent USB microphone for you and your guests delivers the biggest possible ROI. Even just asking guests to use the simple wired earbuds that came with their phone is a huge step up from their computer’s internal mic.
Is It Better to Record Audio and Video Separately?
Absolutely, yes. If you’re aiming for a professional product, recording separate tracks is non-negotiable.
You need to use a remote recording platform that captures individual, high-resolution audio (WAV) and video (MP4) files for every single participant. This is a foundational step for anyone trying to master how to record a podcast with people in different locations.
Separate tracks give your editor total control in post-production. They can:
- Perfectly sync tracks that have drifted.
- Apply EQ and compression to each voice independently.
- Create a dynamic, multi-camera edit by switching between speaker angles.
Smashing everything into a single file from a Zoom call kills your editing potential and guarantees a lower-quality final episode.
What Is a Realistic Budget for a Remote Podcast Setup?
You can pull together a really solid, high-quality setup for about $200-$300. This gets you the essentials that make the biggest difference:
- A quality USB microphone (like the Audio-Technica AT2020 or Samson Q2U).
- A simple ring light or LED panel for good lighting.
- A monthly subscription to a dedicated recording platform.
If you want to go bigger with a DSLR camera, an XLR microphone, and an audio interface, you can easily spend over $1,000. Or, you could put that same budget toward a managed production service, skipping the hardware headaches and getting an expert producer and editor from day one.
Ready to create a high-quality video podcast without the production headaches? micDrop provides an end-to-end solution, pairing you with a dedicated producer to handle everything from remote recording to multi-platform publishing. Focus on your content, and we'll handle the rest. Learn more at https://www.micdrop.cc.


