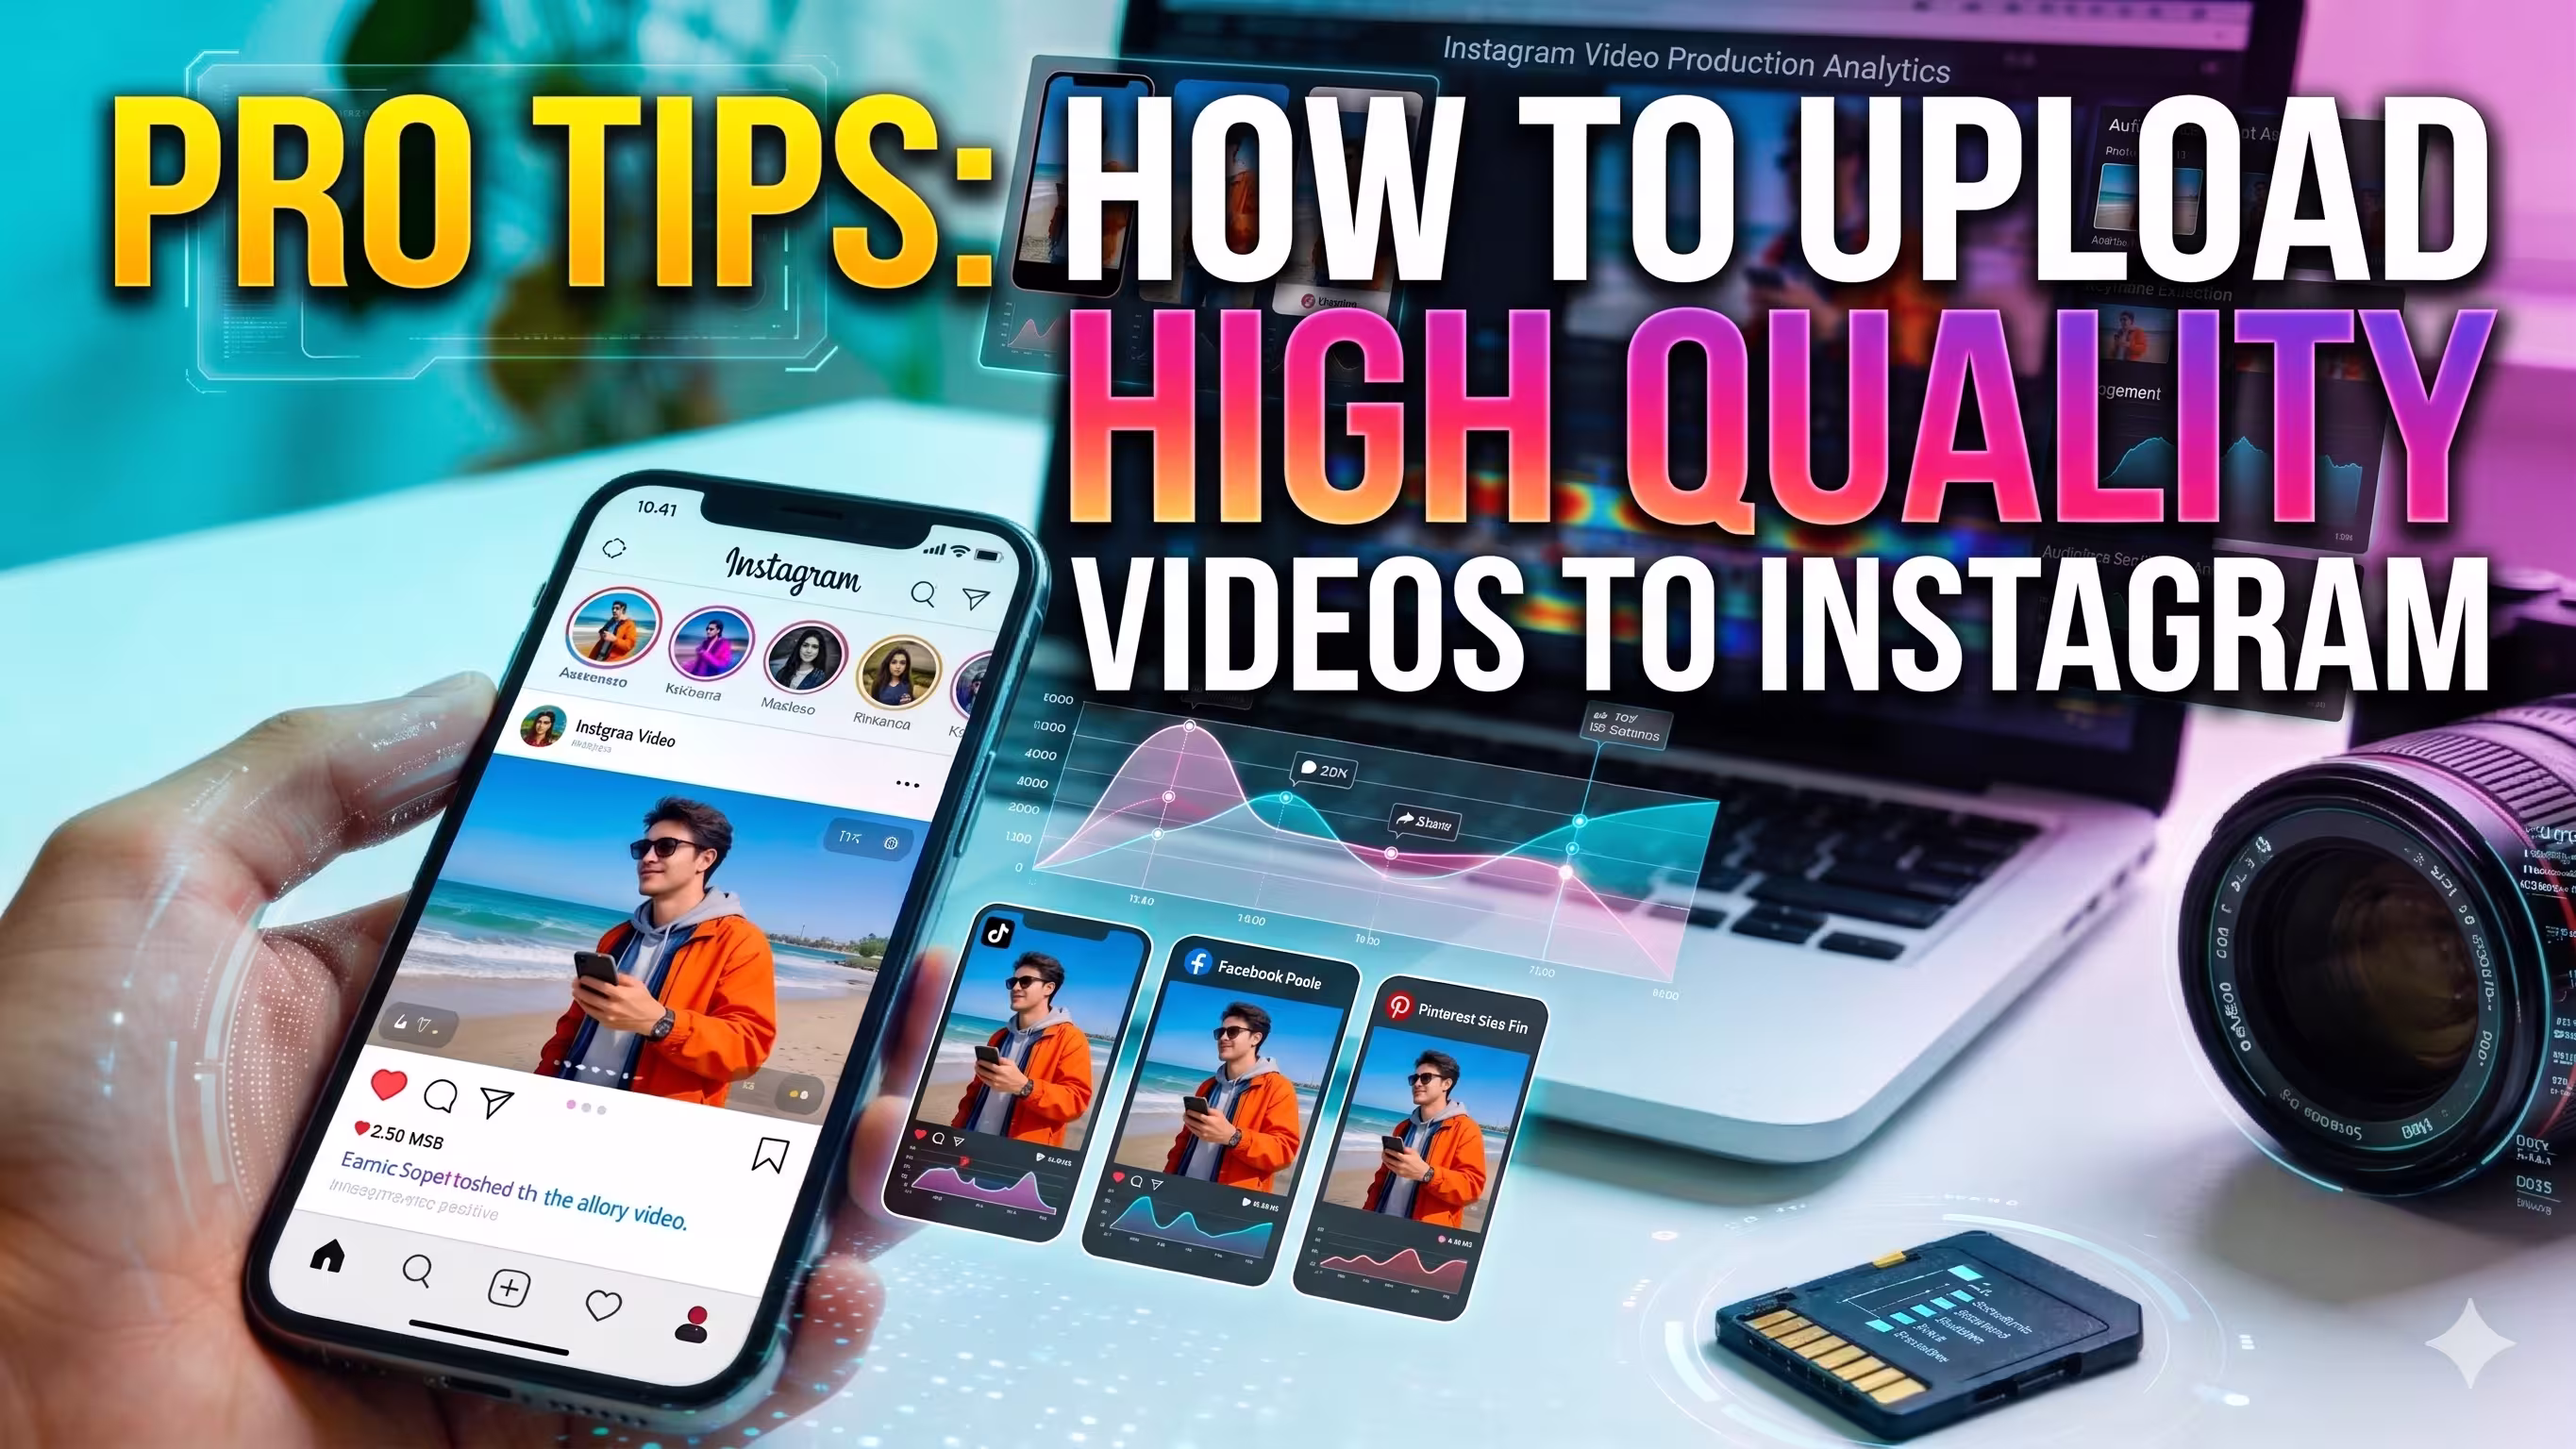
Pro Tips: How to Upload High Quality Videos to Instagram
You export a clean master. The color is balanced. The typography is sharp. Motion graphics snap into place exactly as intended. Then the Instagram upload finishes, and the result looks soft, muddy, and cheap.
That gap is where a lot of branded video loses value.
If you are figuring out how to upload high quality videos to instagram, the answer is not one trick inside the app. It is a controlled workflow from edit timeline to final upload. Instagram is a distribution system with its own compression rules, playback constraints, and formatting preferences. Treat it like a professional delivery channel, and your videos hold up. Treat it like a casual social app, and the platform will make quality decisions for you.
The difference shows up fast. Text edges break apart. Fine detail in hair, fabric, and product shots falls apart. Gradients band. Fast motion turns blocky. And once that happens, viewers do not care that your original export looked pristine.
The fix is practical. Use the right codec, the right bitrate, the right frame rate, the right frame dimensions, and the right upload path. A key step is to stop forcing one generic file into every placement. Instagram rewards files that already match the surface where they will play.
The Frustrating Reality of Instagram Video Quality
The most common mistake is assuming the upload itself is neutral.
It is not. Instagram reprocesses your file, and that reprocessing can undo a lot of good production work. A polished brand video can look like a compressed screen recording if the source file, export settings, and upload method are not aligned.
Teams often get confused. They compare the file on their desktop to the file inside Instagram and assume something went wrong during editing. Usually, the edit is not the issue. Delivery is.
A typical failure looks like this. You cut a strong interview clip in Adobe Premiere Pro, export a high-bitrate file, send it to a phone through a messaging app, upload on mobile data, and leave Instagram's high-quality upload setting off. The final post looks blurred in motion, the thumbnail is weak, and subtle color work disappears.
That is not bad luck. It is stacked compression.
For brands, this matters more than creators often admit. People judge the company through the media quality long before they evaluate the script, offer, or message. If the footage feels degraded, the brand feels less controlled.
Key takeaway: Instagram quality problems are usually workflow problems, not camera problems.
There is good news in that. You do not need exotic gear to improve results. You need a repeatable process.
Once you understand how Instagram handles files, you can build exports that survive compression far better. The professionals who get consistently clean uploads are not winning because they found a secret menu. They are feeding the platform the kind of file it is least likely to damage.
Why Instagram Compresses Your Videos
A file that looks clean in your edit suite can lose edge detail, shadow separation, and motion clarity within minutes of upload. Instagram is built to serve video fast across a huge range of phones, app versions, and connection speeds, so it rewrites your file for delivery efficiency instead of preserving your export exactly.
That matters because Instagram should be treated like a distribution platform, not a file locker. For a brand, the difference is commercial. Soft footage, unstable motion, and broken gradients make the production feel cheaper than it was, which affects trust before the message has a chance to work.
What the platform is doing to your file
When you upload, Instagram creates new versions of the video to fit its own playback system. That process is transcoding. Your master export becomes source material for Instagram's encoder, and the platform decides how much data each version gets.
To understand this, you need to know three technical terms: codec, bitrate, and frame rate.
- Codec is the method used to compress and play back video. Instagram handles some formats better than others, which is why H.264 in an MP4 container remains the safest delivery choice.
- Bitrate is the amount of data assigned to the video stream. Higher bitrate usually preserves more detail, but only until the platform decides the file is oversized for its pipeline and recompresses it harder.
- Frame rate is the number of frames shown each second. A stable frame rate usually survives compression better than footage that has been converted poorly or exported inconsistently.
This is why a strong camera original can still look weak after upload. Compression does the most damage in places where viewers notice quality first: skin texture, hair detail, gradients, text edges, and fast motion.
Why a larger export can still look worse
B2B marketing teams and in-house social teams often assume the answer is to export the biggest file possible. That sounds logical. In practice, oversized files can create more work for Instagram's encoder, and that extra processing can strip detail you were trying to protect.
The better approach is controlled delivery. Export a file that is clean, compatible, and close to the platform's preferred playback profile. That gives Instagram less reason to reinterpret the video aggressively.
At the studio level, this is standard distribution discipline. The same mindset that protects quality for broadcast, paid social, or OTT placements applies here too. A polished handoff from edit to upload produces better results than brute-forcing bitrate. Teams that need repeatable output usually get there faster with a professional video editing service built around delivery standards, not just timeline polish.
The app setting that changes the outcome
Instagram also gives users a quality preference inside the app: Upload at highest quality.
Leave it off, and the app is more likely to favor speed and lower data use during upload. Leave it on, and you give the file a better chance of reaching Instagram's processing pipeline with less damage upfront. That setting does not override compression, but it does remove one common quality loss point.
What Instagram wants from your file
The goal is to make Instagram's job easy.
Use a compatible codec. Keep the frame rate consistent with the source. Export for the final placement so the app is not forced to resize and crop more than necessary. Keep enough detail in the file to survive recompression, without sending a bloated master that invites a heavier transcode pass.
Teams that handle Instagram this way stop treating quality loss as random. It becomes a delivery problem with a clear fix: build the export and upload workflow around the platform's constraints, because better-looking video does more than satisfy a technical standard. It protects brand perception and gives the creative a better chance to hold attention.
Mastering Export Settings for Flawless Quality
A luxury product reel can look sharp in the edit bay, then reach Instagram with softened edges, crushed gradients, and text that feels cheap. That drop in quality is not a minor technical miss. It changes how the brand reads on screen.
Export is where that outcome is decided.

The settings that matter
Instagram rewards clean, standard delivery files. The baseline is straightforward: H.264 codec, MP4 container, 30 fps, and a file built from strong source footage at 1080p or higher. If the original material was finished in 4K, the export usually holds up better after Instagram recompresses it. The platform still compresses the upload, but a clean master gives that transcode less room to do visible damage.
Use these settings as the house standard:
- Codec
Export in H.264. It is the safest choice for compatibility and the most predictable option for Instagram delivery. - Container
Use MP4. It keeps the handoff simple and avoids unnecessary playback or upload issues. - Resolution
Finish at the native dimensions for the placement. High-resolution source helps, but the export should match the final delivery frame. - Bitrate
Set a controlled bitrate around 3.5 Mbps for standard Instagram delivery. Pushing the bitrate far higher rarely improves the final result after recompression. It usually creates a heavier file that Instagram still reduces. - Frame rate
Keep the export at 30 fps unless the source and creative strategy call for something else. Frame rate conversions at export can introduce motion artifacts that become more visible after compression. - Audio
Use AAC at 128 kbps. That is a clean, compatible setting for spoken word, music beds, and short-form brand content.
One rule matters more than any single number. Export for the final destination, not for your archive.
Adobe Premiere Pro workflow
Premiere Pro works well for Instagram delivery if the team stops treating the export window like an afterthought.
Start with Match Source - High Bitrate, then override the parts that matter. Set the format to H.264, confirm the frame size matches the placement, and bring the target bitrate down to 3.5 Mbps instead of leaving the preset untouched. Check frame rate before export. If the sequence is 23.976 and the final file is forced to 30 without a reason, the motion can look worse before Instagram even touches it.
A clean Premiere handoff usually follows this order:
- Finish the cut in the correct aspect ratio.
- Export to H.264.
- Use Match Source - High Bitrate only as a starting point.
- Set target bitrate to 3.5 Mbps.
- Confirm the final frame rate.
- Export as MP4.
Teams that publish high volumes every week usually need this locked into process, not left to editor preference. A professional video editing service with delivery standards built into the workflow helps prevent the small export mistakes that make polished creative look average on-platform.
Final Cut Pro workflow
Final Cut Pro follows the same delivery logic.
Choose an H.264 export, keep frame dimensions aligned with the intended placement, and avoid oversized files for short-form uploads. Guidance also notes that Stories and Reels are best kept under 20MB when possible to reduce the chance of a heavier upload transcode (Artlist guide to the best quality Instagram videos).
That trade-off is practical. A slightly leaner file with disciplined settings often survives upload better than a bloated master exported on the assumption that more data always means more quality.
Cheat sheet for practical delivery
Instagram Video Export Settings Cheat Sheet (2026)
What works and what does not
Certain export habits hold up reliably in professional delivery.
What works
- Starting from high-resolution source footage so compression has more real detail to preserve
- Using a controlled bitrate instead of exporting the heaviest file possible
- Matching sequence dimensions to the final placement before export
- Delivering clean H.264 MP4 files with standard audio settings
What does not
- Sending oversized masters and expecting Instagram to preserve all of that extra data
- Uploading weak source files and hoping export settings will restore lost detail
- Changing frame rates at export without a production reason
- Letting Instagram crop or resize a master that was framed for another format
Professional Instagram delivery is not about one magic checkbox. It is a repeatable pipeline from timeline to upload, built to protect image quality, brand perception, and watch-through on the platform that matters.
Formatting Video for Every Instagram Placement
A technically correct export can still perform badly if the frame is wrong for the surface.
Many teams lose quality here without realizing it. The file may be encoded well, but if the composition does not match the placement, Instagram crops it, scales it, or adds empty space. That immediately makes the content look less intentional.

Reels and Stories need a vertical composition
Verified guidance is clear that 9:16 is optimized for Stories and Reels, with Reels running from 15 to 90 seconds max and a recommended frame size of 1080x1920 at 30 fps. The same source also notes 500 million daily Stories views and warns that turning off high-quality upload can cut bitrate from 3500 kbps to around 1500 kbps, which visibly hurts sharpness (Artlist guide to the best quality Instagram videos).
For production, the key lesson is compositional, not just technical.
A 16:9 interview clip trimmed into a 9:16 frame is not automatically a Reel. You often need to reframe the speaker, resize graphics, move captions, and check that all important action sits in the center-safe area.
Feed posts reward better framing than lazy square crops
For feed, 4:5 is usually the strongest choice. It occupies more vertical space than a square post and avoids the cramped look of a 1:1 crop when the original content was designed for portrait viewing.
If your team still defaults to square for everything, you are leaving presentation quality on the table. A well-built 1080x1350 feed post usually feels more premium and more intentional than a square crop made out of convenience.
Quick rule: Use 4:5 when you want feed presence, 1:1 only when the design benefits from symmetry.
Long-form video needs a different mindset
Feed now supports longer video workflows, and long-form uploads demand stricter discipline around layout. A horizontal master can work, but only if the framing, text size, and thumbnail strategy are built for mobile viewing.
Repurposing matters here. If you are adapting webinars, interviews, or podcasts, you should not merely trim. You should version the content for the surface. That often means creating separate edits rather than squeezing one master into every slot.
For teams handling multi-format distribution, content repurposing services can help turn one source recording into native cuts for feed, Reels, and Stories without the usual compromise.
A simple placement comparison
The best-looking Instagram accounts do not just export correctly. They frame for each placement before export even starts.
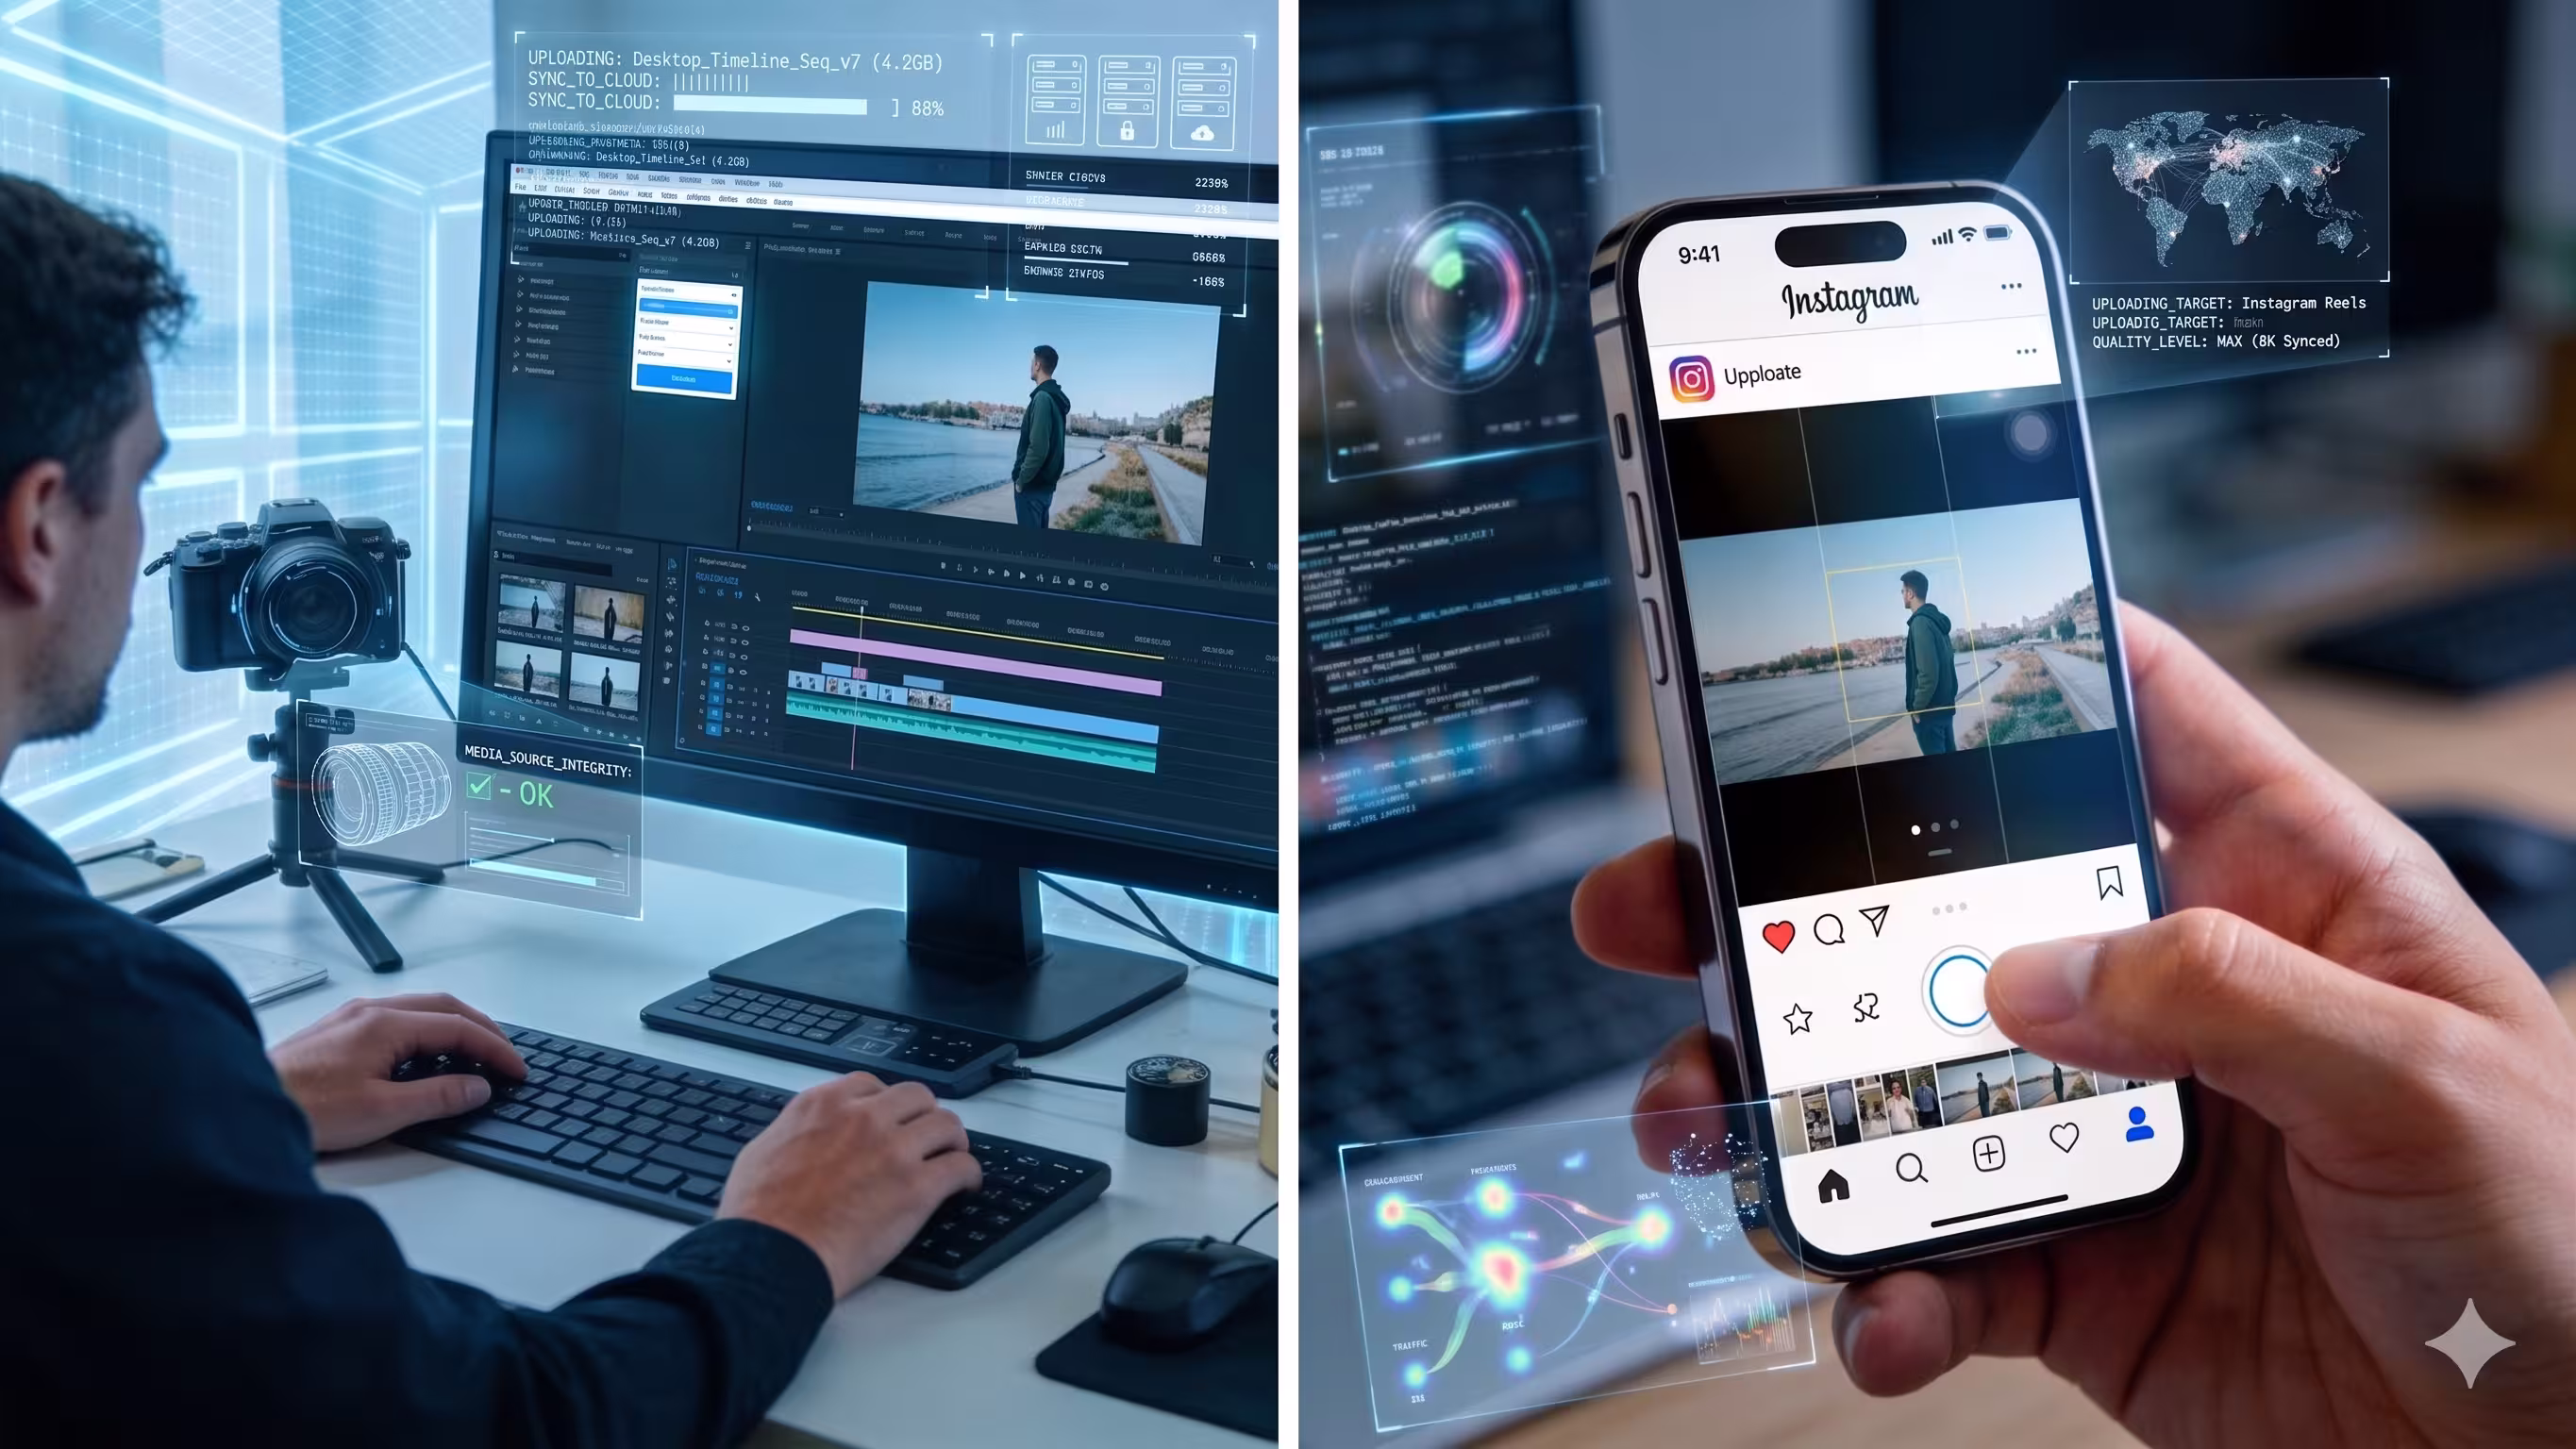
The Best Upload Workflow Mobile vs Desktop
Upload method matters more than many expect.
A clean export can still get compromised if the file takes a sloppy path from edit machine to Instagram. The safest workflow keeps the file intact all the way to the upload screen, then uses Instagram's own highest-quality setting to reduce avoidable compression.
Mobile upload versus desktop planning
For many teams, the strongest workflow is hybrid.
Edit and export on desktop. Review the final file on a real phone screen. Transfer it without compression. Then upload through the Instagram app with Upload at highest quality enabled.
Desktop is better for production control. Mobile is still where many final publishing actions happen most reliably, especially for Reels and Stories. What matters is not ideology about device choice. What matters is preserving the file.
How to transfer the file without damaging it
Not every transfer method is safe.
Use methods that preserve the original file, such as:
- AirDrop
- Direct USB transfer
- Cloud storage that does not recompress the file
Avoid casual messaging workflows for finals. Sending a master through a chat app is one of the fastest ways to introduce extra compression before Instagram even gets involved.
If your team produces executive content, interview series, or branded video at scale, a structured production workflow like corporate video production services can remove a lot of these handoff errors.
The setting that should always be on
Inside Instagram, enable Upload at highest quality before you publish.
This step is essential for professional delivery. If the setting is off, the app may optimize for speed and data savings over image quality. That is exactly the trade-off you do not want after careful editing and export.
A short walkthrough can help your team lock this in:
A practical upload protocol
Use this every time:
- Export the final file from your NLE using your saved Instagram preset.
- Watch the full file locally before transfer. Catch audio slips, framing mistakes, and title-safe issues now.
- Transfer losslessly to the phone.
- Confirm the Instagram setting for highest-quality uploads is enabled.
- Upload on stable WiFi rather than a weak mobile connection.
- Review the published video on-device, not just from desktop.
That final review step is critical. Instagram is a mobile viewing environment first. Judge it where your audience will see it.
Troubleshooting Common Video Quality Killers
A video can look clean in the edit bay, clean on the camera card, and still fall apart after upload. That is usually a workflow failure, not a mystery. Somewhere between source, timeline, export, transfer, and Instagram’s transcode, the file picked up a quality hit.

The fastest fix is to diagnose the symptom and trace it back to the stage that caused it. Re-exporting the same timeline five times rarely helps.
Blurry motion and mushy detail
If fast movement turns smeary or texture disappears in hair, fabric, or product shots, inspect the entire image chain. Guidance recommends starting from 4K footage and exporting at 1080p with 3500 kbps and 30 fps, while avoiding exports over 5000 kbps and enabling Instagram’s highest-quality upload setting (EaseFab guide to high-quality Instagram video uploads).
In practice, soft motion usually comes from one of four problems:
- Low-detail source footage with noise, missed focus, or aggressive in-camera sharpening
- Bitrate set too low for shots with motion, water, foliage, crowds, or fast camera moves
- Bitrate pushed too high, which can invite a harsher transcode on delivery
- Upload setting disabled, which lets Instagram prioritize speed over image retention
The business cost is real. If a launch video makes premium materials look cheap, the audience reads that softness as a brand signal, not a codec issue.
Cropped titles and awkward framing
Bad framing is usually baked in before upload. The export did not fail. The composition did.
Three causes show up constantly in client work:
- exporting one master for every placement
- placing captions and lower thirds too close to the edge
- trusting auto-crop instead of building a native version for the frame
A proper vertical or square recut almost always performs better than a recycled horizontal center crop. Faces sit correctly, text stays readable, and product details survive. That matters on Instagram because viewers decide within a second whether the post looks intentional or repurposed.
Washed-out color and ugly gradients
Instagram is hard on subtle gradients, low-light footage, and overworked grades. Clean contrast holds up better than fragile shadow detail and delicate tonal ramps.
Watch for these trouble spots:
- Heavy noise reduction or sharpening, which can create brittle texture after compression
- Lifted shadows, especially in dim interiors or night footage
- Smooth brand backgrounds or skies, where banding becomes obvious fast
- Thin graphic lines and light text, which can break apart on mobile screens
If a grade looks good only on a calibrated monitor at full resolution, it is not ready for Instagram distribution. Check the export on a phone and look at the gradient areas first.
Audio sync drift and playback weirdness
Sync issues usually start earlier than editors expect. Phone clips, screen captures, and mixed-frame-rate assets are common offenders.
Inspect these first:
- Variable frame rate source files
- Mixed frame rates inside one timeline
- Third-party transcodes added at the last minute
- Timeline settings that do not match the final delivery frame rate
Standardize problem footage before the final export. In a professional workflow, unstable media gets converted before edit lock, not after the upload fails.
Rejections and weak thumbnails
Upload failures are often tied to duration, file interpretation, or the path used to publish. The same guide also points to a useful workaround: uploading as a long-form video and selecting Post a Preview can produce a clearer feed thumbnail than a direct feed upload.
That thumbnail is not a cosmetic detail. It is the cover frame for your brand in the feed. If it looks soft, poorly cropped, or low-contrast, engagement drops before the video has a chance to earn attention.
Use this triage order:
Change one variable at a time. That is how post teams isolate failures quickly and keep delivery standards high.
Frequently Asked Questions About Instagram Video
Does Instagram compress audio too
Yes. That is why clean audio starts before export.
Use AAC audio at 128 kbps when preparing Instagram deliverables. Beyond that, give the platform a clean mix with controlled peaks, clear voice presence, and no unnecessary processing. If the original mix is harsh or muddy, Instagram will not rescue it.
Should I upload 4K or 1080p
Start with 4K source footage when possible, then export the delivery file at the dimensions needed for Instagram.
The advantage of 4K is not that Instagram will show a true 4K master in every context. The advantage is that high-resolution source gives the platform more detail to work with after compression. That tends to hold up better than trying to stretch weaker footage.
What should I do with 60 fps footage
If you shot at 60 fps for a reason, make a deliberate choice in post.
For most Instagram delivery, consistency matters more than keeping a high capture frame rate. If the final output is built around 30 fps, convert intentionally inside your edit rather than leaving the platform to interpret the mismatch. What hurts quality is not the existence of 60 fps footage. It is careless frame-rate handling.
Is uploading from mobile worse than desktop
Not necessarily.
What matters is whether the file reaches Instagram intact and whether the app is allowed to upload at highest quality. A desktop-first production workflow with a clean final mobile upload is often the most dependable combination.
How do I stop Instagram from ruining thumbnails
Use a frame that reads clearly on a phone. That means larger faces, stronger contrast, and less tiny detail.
For some long-form workflows, using Post a Preview can lead to a cleaner feed thumbnail than a direct feed upload, as noted earlier. Also, avoid cover designs that only work at full size. On Instagram, the thumbnail is often the first quality test your audience applies.
Why does my video look fine on my computer and soft on my phone
Because Instagram is a mobile platform first, and compression artifacts often reveal themselves more clearly in-app than in an editing monitor preview.
Always review:
- the exported file on a phone
- the draft framing inside Instagram
- the published result after processing
That three-step check catches most quality problems before they become recurring brand damage.
What is the single most important setting to check before posting
If only one final check happens, make it this one: Upload at highest quality must be on.
Without that, even a well-prepared file can take an unnecessary quality hit during the final mile.
If your team wants studio-grade Instagram, YouTube, LinkedIn, and podcast video without building the entire workflow in-house, micDrop can handle the production, editing, repurposing, and publishing process end to end. That gives you content that looks intentional on every platform, not just inside the edit timeline.


