How to Edit a Podcast Like a Pro in 2026
Great podcast editing doesn't start with your software. The real work—the stuff that separates polished shows from amateur hour—begins long before you make your first cut. Get your foundation right, and you'll slash your editing time.
Build Your Podcast Editing Foundation
Before you even think about chopping out "ums" and awkward pauses, you need to get organized. This isn't just about being tidy; it's a strategic move that will save you hours of frustration down the road.
First things first: create a master folder for every single episode. No exceptions. Inside that main folder, you'll want a few subfolders to keep everything straight.
- Raw Audio: This is for all your original, untouched recordings.
- Project Files: Where you save your actual work-in-progress from your DAW.
- Final Exports: The finished MP3s or WAVs, ready for the world.
- Assets: Your home for intro music, sound effects, ads, and anything else you add in.
This simple system is a lifesaver. It means no more frantic searching for a guest's audio track or accidentally deleting the wrong file.
Organize Your Digital Workspace
Once your files are sorted, it’s time to open your Digital Audio Workstation (DAW). Whether you’re using Audacity, Adobe Audition, or Logic Pro X, the first thing you should do is label every track. Give each speaker their own track, and create separate ones for your intro/outro music and any sound effects.
This isn’t just busywork. A professional workflow leads to massive efficiency gains. In fact, a streamlined post-production process can cut editing time by up to 40% (Source: Alitu). That speed makes it easier to release episodes weekly, which can significantly boost audience growth over time.
A clean edit also keeps listeners hooked. Episodes that are tight and free of filler can boost listener retention by as much as 25% (Source: The Podcast Host).
The takeaway here is simple: a great edit is built on a foundation of solid organization and smart prep work.
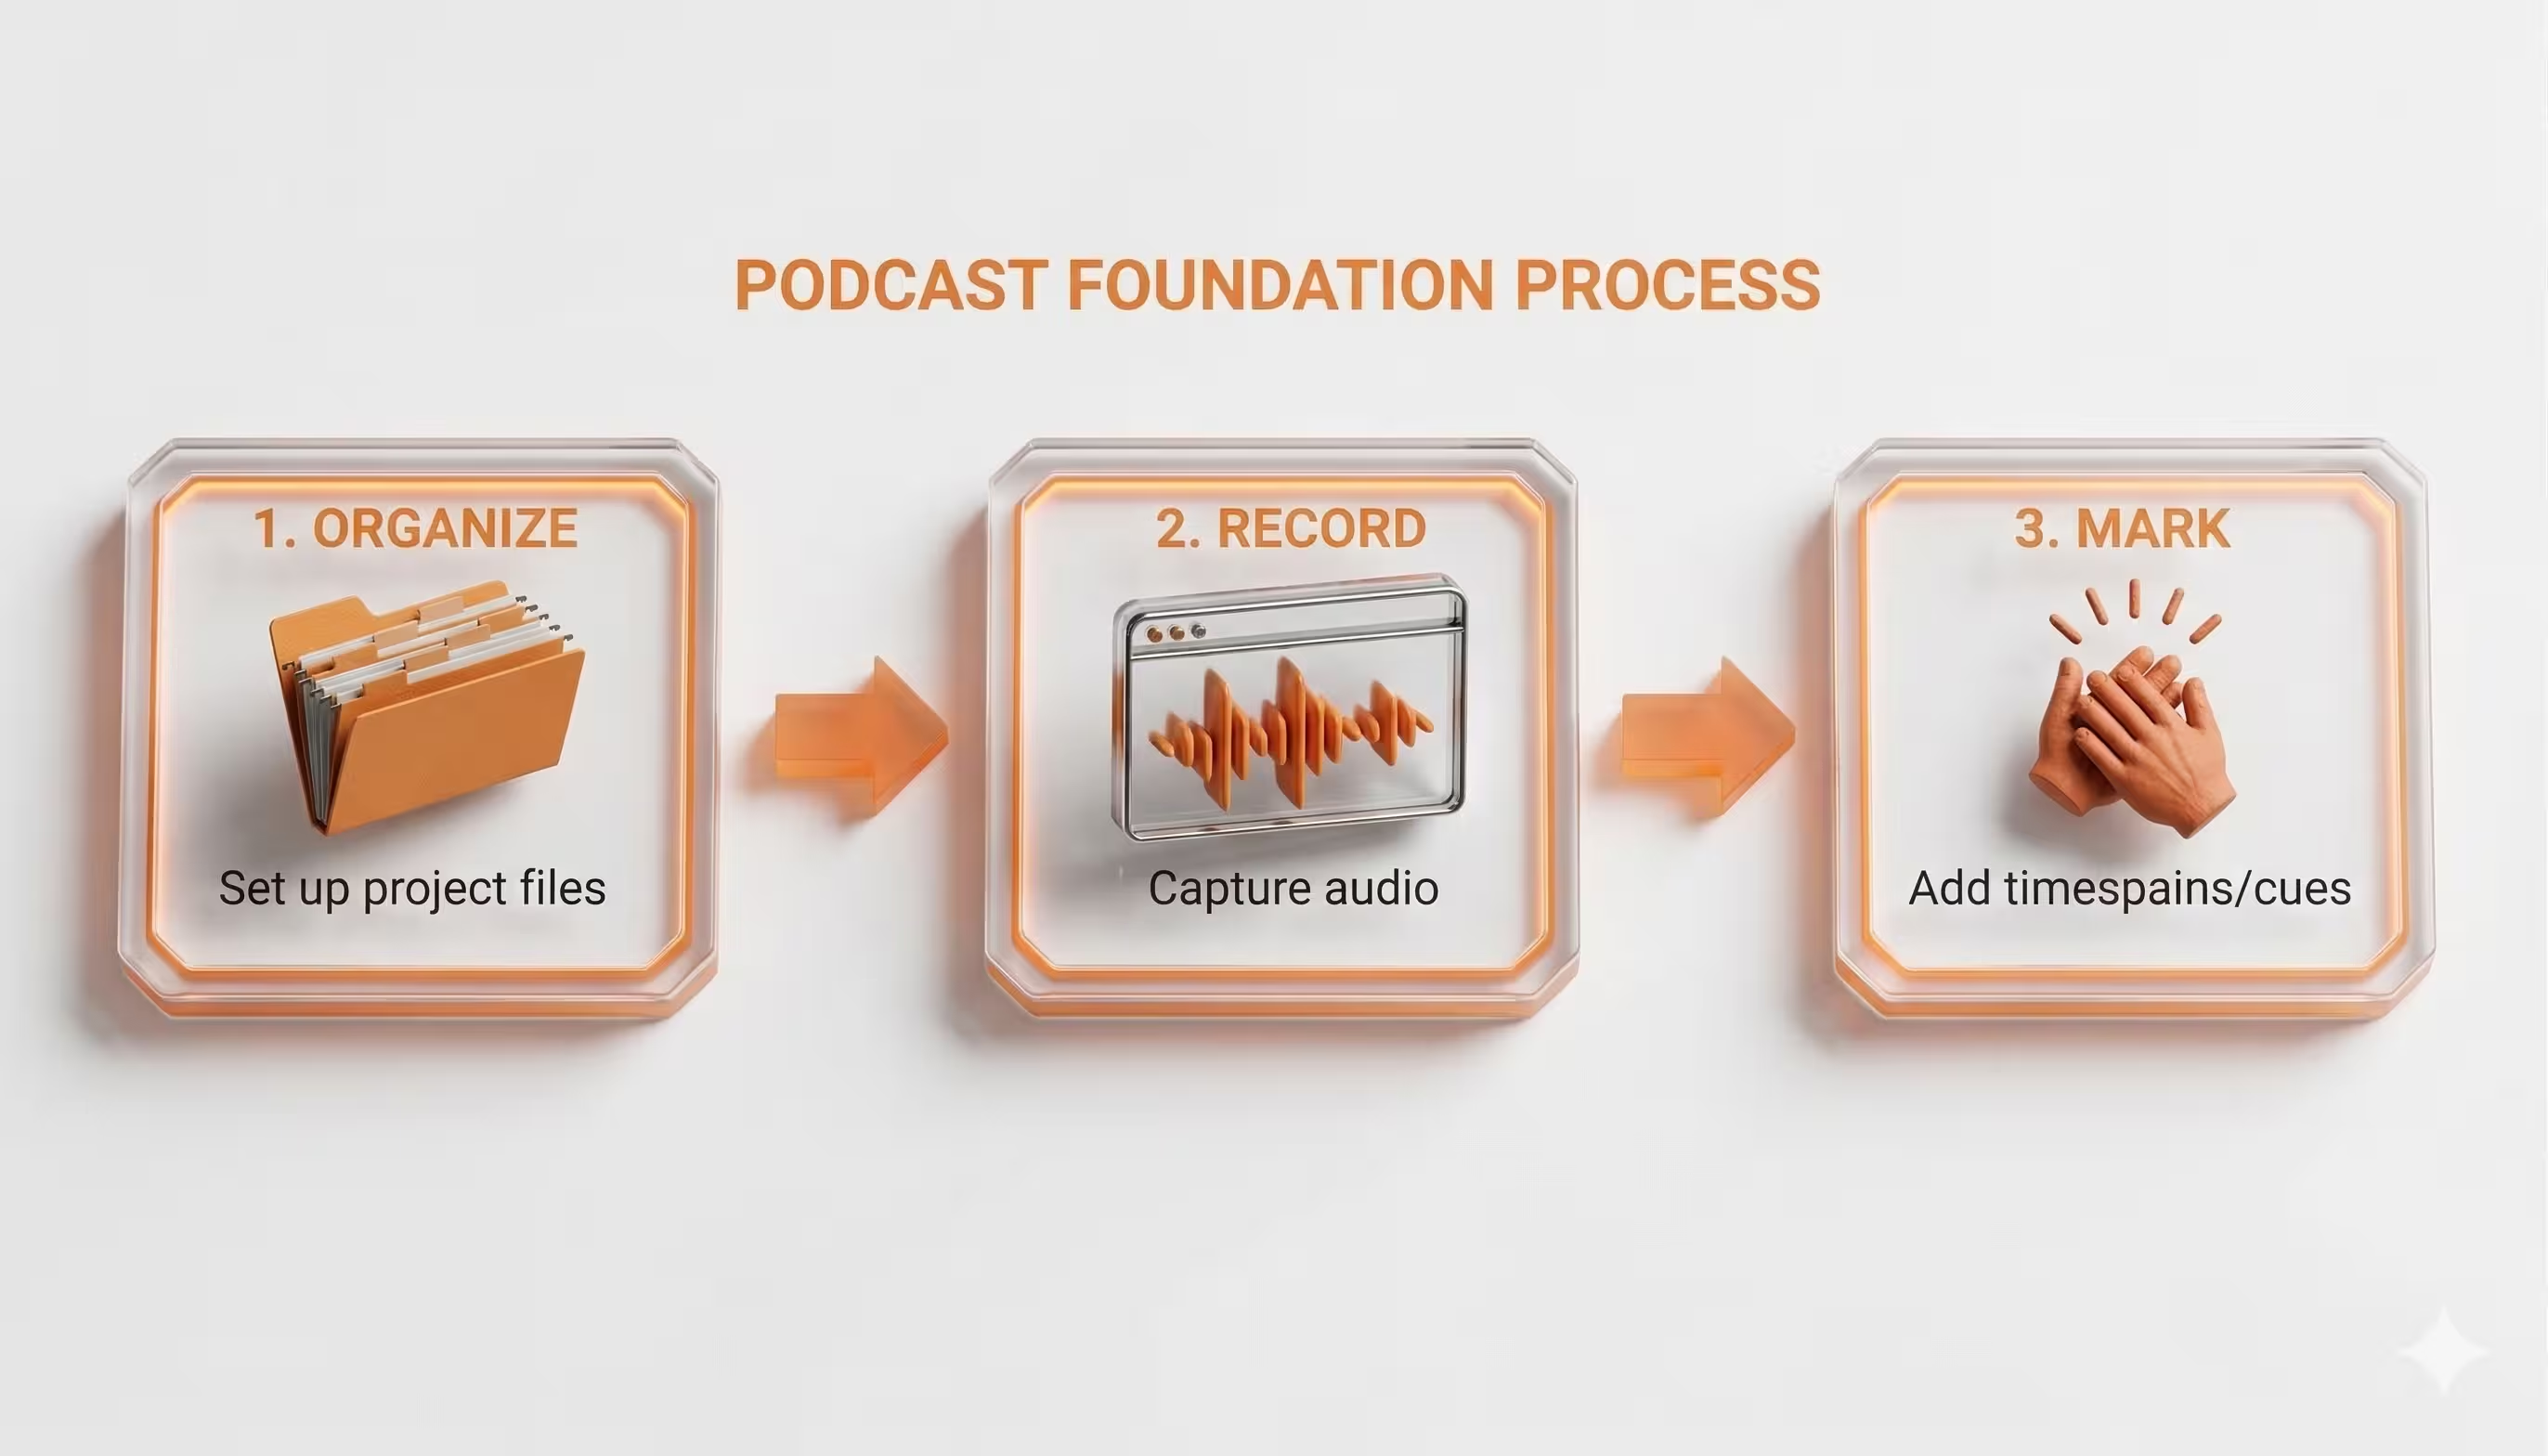
Mark Mistakes While You Record
Want a pro tip that will save you hours? Mark your mistakes as they happen.
When you or a guest flubs a line, needs to restart a thought, or coughs, just clap your hands once, loudly, near your mic. This creates a huge, unmissable spike in the audio waveform.
When you're scanning hours of audio, these visual spikes are like beacons, instantly showing you where an edit is needed. You can jump directly to these points without having to re-listen to the entire recording.
This "clap-sync" method is one of the most effective shortcuts in the game. It creates a visual roadmap of edits, letting you tackle them quickly and efficiently. Of course, the better your raw audio quality, the easier the whole process becomes. Using the right gear, like a good audio interface, is critical. For more on that, check out our guide on choosing an audio interface for podcasting.
Shape Your Narrative with a Structural Edit
Once your files are organized, the real work begins. This is where you graduate from file manager to storyteller. The structural edit is, without a doubt, the most important part of the entire process. It’s where raw conversation is hammered into a focused, compelling narrative.
Your first listen-through isn't about catching tiny audio mistakes. Instead, you're listening for the big picture—the flow, the pacing, the story. Your mission is to find and cut anything that doesn't serve the listener or move the conversation forward.
Adopt a Ruthless Editing Mindset
In podcasting, great editing is defined by what you take out. A rambling tangent or a repeated point might feel natural in the moment, but it’s a surefire way to lose your audience. You have to be your listener’s advocate.
Get ready to make hard choices. I’ve personally cut entire five-minute chunks of audio that were fascinating to me but ultimately diluted the episode's core message. It’s a necessary sacrifice for keeping the momentum going and respecting your audience's time.
This is never more true than in the first few seconds of your show. According to research from Spotify, you have about 30 seconds to convince someone to stick around. A slow, meandering start is basically an invitation for them to hit "next."
Rearrange Segments for Maximum Impact
A structural edit isn’t just about deletions; it’s about reconstruction. That amazing point your guest made near the end? It might just be the powerful hook you need for your intro. Don't ever be afraid to shuffle segments around to build a more logical and powerful story arc.
Think of it as putting together a puzzle. The recording gives you all the pieces, but you’re the one who has to arrange them in the right order. I find it helpful to drop markers in my DAW to split the episode into thematic sections, a trick used by the editor of the Frndship Time podcast. This lets you see the whole episode at a glance and easily drag and drop entire blocks of conversation.
The best structural edits are invisible. Listeners won't notice that you moved a segment from the 40-minute mark to the 5-minute mark; they'll just feel that the conversation flows perfectly and keeps them engaged from start to finish.
This is a huge shift from the early days of podcasting back in 2004, when shows were often just long, unedited chats. Today, an unedited raw file typically contains 15-25% fluff—long pauses, filler words, and tangents (Source: Cleanvoice.ai). Cutting this is essential, especially when listener drop-off rates can be as high as 35% in the first five minutes (Source: The Podcast Host). You can find more insights about podcast editing trends to see just how critical this has become.
Syncing and Selecting Visuals for Video Podcasts
If you’re working with video, the structural edit gets another layer of complexity. This is your chance to sync up all your different camera angles. That clap-sync method we talked about earlier is a lifesaver here, giving you a clear audio and visual spike to align every track perfectly.
With everything in sync, your next job is to pick the best camera shots to tell the story visually.
- Cut between speakers: When someone starts talking, cut to their camera. It keeps the visual focus clear and direct.
- Use reaction shots: Don’t forget to show the host or other guests listening. A well-timed nod or a surprised look adds a ton of conversational energy.
- Go wide: Use a wide shot to establish the scene or show the dynamic between everyone in the room.
The goal is to create a visual experience that enhances the audio, not just sits there passively. By making thoughtful cuts, you transform a static recording into a professional production that keeps your audience captivated on every level.
Achieve Crystal-Clear Audio Quality
You've got the content nailed down, but even the most captivating story will fall flat if the audio is grating or inconsistent. This is where we get into the technical polish that separates a professional podcast from an amateur one.
The goal is to make listening completely effortless. We want to eliminate distracting background noise, balance volume levels so no one is reaching for the dial, and make every voice sound warm and present. It might sound like a dark art, but it really boils down to a few key processing steps.
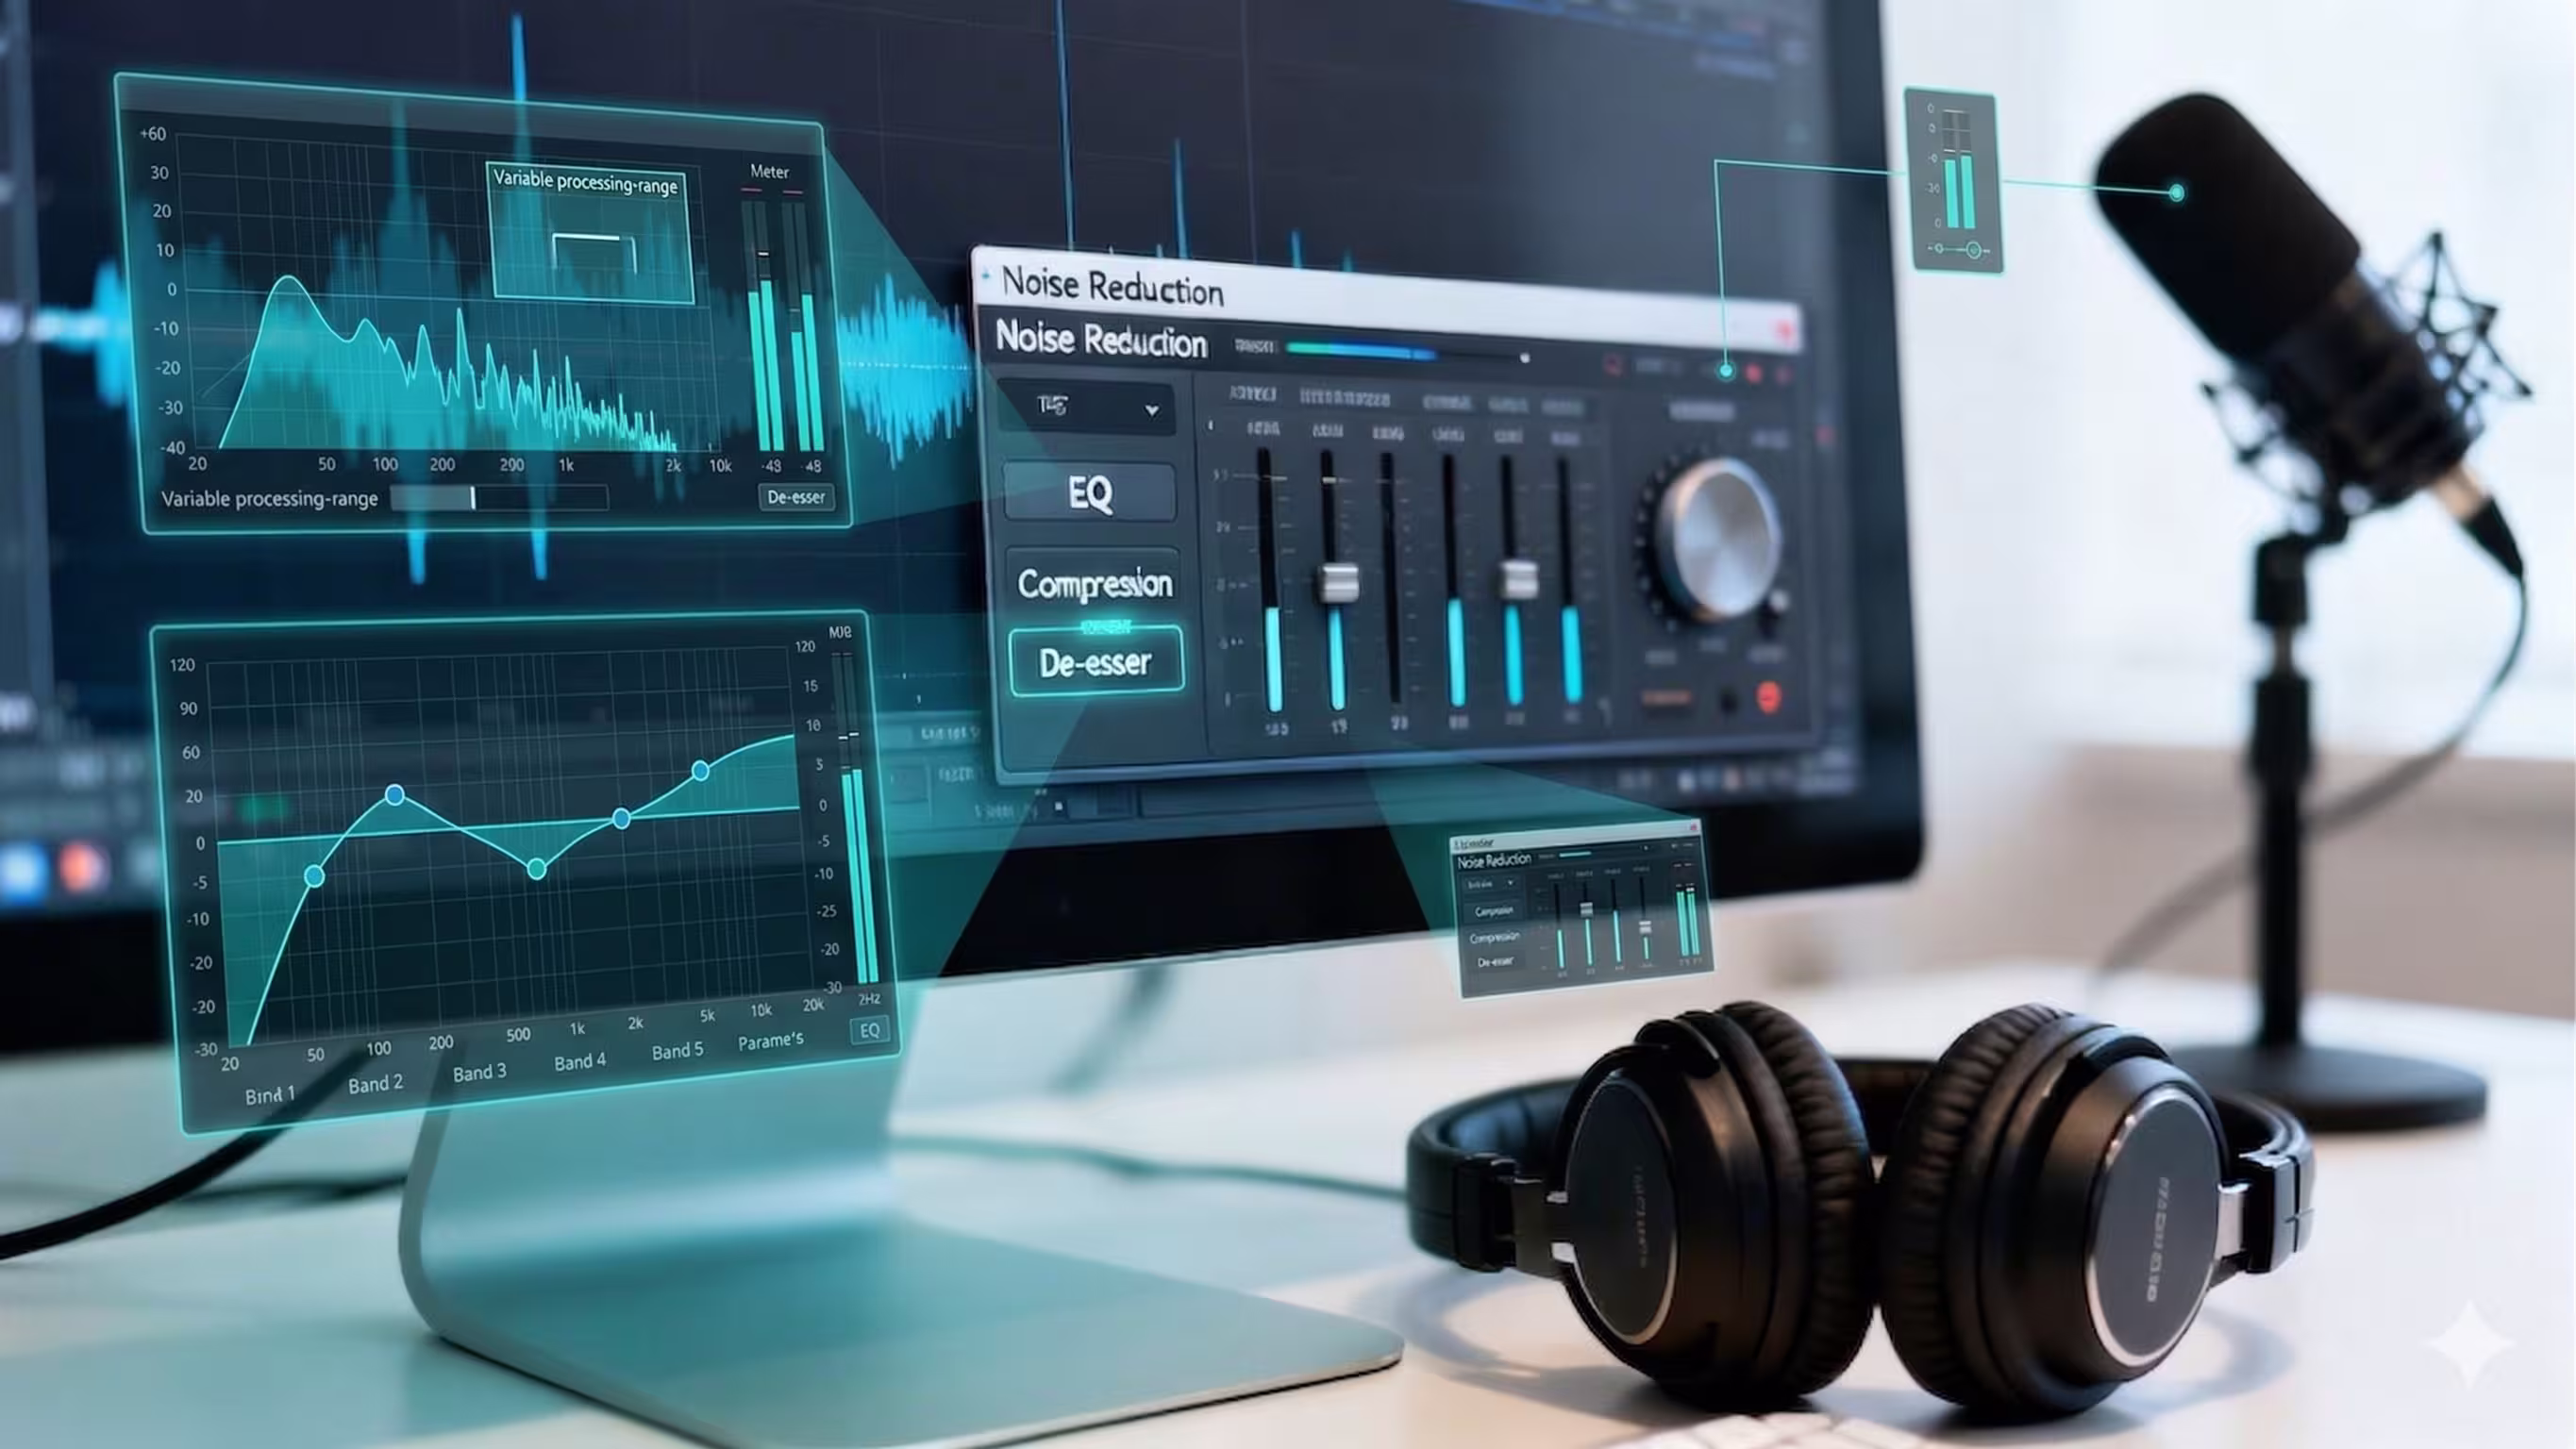
Start With Noise Reduction
Every single recording has some ambient noise—the hum of a fan, the buzz from an air conditioner, or a faint electrical hiss. You might not notice it at first, but it builds up and can make your final audio feel muddy and unprofessional. Noise reduction is your first line of defense.
Most DAWs come with a tool for this. The process is usually the same: you find a few seconds of pure "room tone" where nobody is talking, and you let the software "learn" that noise profile. Then you apply it to the whole track. Just be gentle here—overdo it, and you'll get a weird, robotic sound. A light touch is all you need.
If you’re dealing with more challenging background sounds, a dedicated tool like iZotope RX is the industry standard. But even the free tools are surprisingly capable. For a great walkthrough, check out our guide on editing a podcast in Audacity.
Use Equalization (EQ) for Clarity and Warmth
Next up is EQ (Equalization). Think of it as a precise set of tone controls for your audio. EQ lets you boost or cut specific frequencies to shape a voice, making it clearer, warmer, and helping it sit perfectly in the mix.
For most voices, a few simple tweaks can work wonders:
- High-Pass Filter: Cut everything below 80-100 Hz. This is where you’ll find muddy, low-frequency rumbles from things like mic bumps or electrical hums.
- Mid-Range Scoop: A small dip around 250-500 Hz can often get rid of a "boxy" or nasal quality in a voice.
- Presence Boost: A gentle lift between 2-5 kHz is where human speech has the most clarity. A small boost here makes vocals pop.
- High-End "Air": A tiny boost above 10 kHz can add brightness and a sense of space. Be careful, though, as too much will introduce hiss.
The real key is to listen as you go. Make small adjustments and trust your ears to tell you what sounds best.
Every voice is unique, so there’s no one-size-fits-all EQ setting. The goal isn’t to make everyone sound the same, but to bring out the best qualities in each individual recording and ensure they complement each other.
Apply Compression for Even Volume
Once your tone is dialed in, it's time to tackle volume. People naturally get louder and quieter as they speak, which can force your listeners to constantly adjust their volume. Compression is the tool that fixes this.
It works by automatically reducing the volume of the loudest parts and boosting the quietest parts. This smooths everything out, creating a much more consistent and professional listening experience. Your audio will feel more "punchy" and present without any jarring jumps in level.
Tame Harsh Sibilance With a De-Esser
The final touch in the audio processing chain is the De-Esser. This is a specialized tool that targets and softens harsh "s" and "sh" sounds, known as sibilance.
Some sibilance is perfectly natural, but certain voice and microphone combinations can make it really sharp and unpleasant. A de-esser acts like a tiny, automated volume knob that dips the level only when those specific harsh frequencies pop up, leaving the rest of the audio untouched.
Cut the Clicks, Breaths, and Fillers
Beyond the big audio effects, a huge part of professional editing is the detailed, manual cleanup. This is the nitty-gritty work of cutting out every distracting mouth click, lip smack, and heavy breath. It can feel tedious, but it’s absolutely essential for a clean sound.
You also need to tackle filler words—the "ums," "ahs," "you knows," and "likes." A few can sound natural, but too many make a speaker sound hesitant and can quickly bore your audience. You can slice them out manually or use AI-powered tools like Cleanvoice to speed things up. In fact, industry data shows that mouth sounds and stutters can make up 8-12% of raw audio, which these tools can remove in minutes.
Ultimately, this isn't just about cleanup; it's about performance. Podcasts edited to the industry loudness standard of -16 LUFS see up to 40% higher rankings on platforms like Apple Podcasts. Why? Because consistent audio prevents an estimated 25% of listener churn caused by sudden volume changes (Source: Headliner). This level of detail is what keeps your audience hooked from start to finish.
Add the Final Polish: Music, Visuals, and Chapters
Your core audio is clean and the structure is solid. Now comes the part where you transform a simple recording into a memorable, branded experience. This is where sound design, music, and visual elements give your podcast its unique personality.
Adding these layers is what separates amateur productions from professional ones. The right audio cues can make your show feel instantly familiar and welcoming, encouraging listeners to come back for more.
Layer in Music and Sound Effects
Think of your intro and outro music as the sonic bookends of your podcast. A consistent intro signals the show has begun, while the outro provides a clean finish and is the perfect place for your call-to-action.
But don't just stop there. A subtle music bed under an opening monologue can inject energy and set the emotional tone. Short sound effects or "stabs" are also perfect for transitioning between segments, breaking up the content, and recapturing listener attention.
The golden rule here is volume balance. Your dialogue must always be the star. For music playing under speech, you'll need to use a technique called "ducking," which automatically lowers the music volume whenever someone is talking.
As a starting point, aim for your background music to be -18 to -24 dB below your main dialogue track. This keeps it in the background, adding atmosphere without competing with the voice.
Incorporate Visuals for Video Podcasts
For video podcasters, a static shot of talking heads is a huge missed opportunity. This is your chance to bring your brand's visual identity to life, keep your audience engaged, and reinforce key points.
Here are the essential visual elements to add:
- Lower Thirds: Text overlays in the bottom part of the screen used to introduce the host and guests with their names and titles.
- Motion Graphics: Professional, TV-style animated intros, outros, and transitions that feature your podcast’s logo and brand colors.
- B-Roll Footage: Supplemental footage you can cut away to during the conversation. This could be anything from a screen recording of a website being discussed to stock video that illustrates a concept, breaking up visual monotony.
Adding these components is a core part of what production studios like micDrop do, specializing in turning audio conversations into dynamic video content for platforms like YouTube.
Create Chapter Markers for a Better User Experience
Chapter markers are one of the most overlooked but impactful ways to improve your podcast. They function as a timestamped table of contents, allowing listeners to see what's in the episode and jump directly to the sections they care about most.
Chapters respect your listener's time by making long episodes more digestible and scannable. As a bonus, chapter titles packed with relevant keywords can also give your episode a nice SEO boost on platforms that support them, like YouTube and Spotify.
Adding them is surprisingly simple. The markers you likely already placed during the structural edit can often be exported directly as chapters. As one creator found, this bit of audio scaffolding makes a massive difference in an episode's flow, a topic explored in a guide on turning blog content into a podcast.
The process varies slightly between editing software, but it generally involves these steps:
- Place a marker on your timeline at the beginning of each new topic or segment.
- Give each marker a clear, descriptive title (e.g., "The Problem with Traditional Marketing").
- Make sure your export settings are configured to include chapter markers in the final file.
By combining thoughtful sound design, strategic visual branding, and user-friendly features like chapters, you create a polished, professional episode that stands out.
Export and Repurpose Your Final Episode
You’ve done the heavy lifting—the organizing, cutting, and polishing are all behind you. What you’re left with is a master audio file that sounds absolutely fantastic. Now it’s time for the final, crucial step: getting that episode out into the world and making sure it works as hard for you as possible.
This isn’t just about hitting "Export." The settings you choose here will dictate how your podcast sounds on different platforms, and your strategy afterward will determine how much mileage you get from a single recording. Getting this right guarantees a professional, consistent experience for every single listener.
Nail Your Audio Export Settings
Before you can upload your episode, you have to render it into the right format. This part involves a few technical choices, but thankfully, clear industry standards make these decisions pretty straightforward.
You'll mainly deal with two audio formats: WAV and MP3. Think of the WAV file as your uncompressed master copy—it holds all the original audio data in the highest quality. The MP3 file is a compressed, much smaller version that’s perfect for streaming. Always export a WAV file for your archives, but the MP3 is what you’ll actually upload to your podcast host.
When you’re exporting that MP3, there are three key settings to lock in:
- Bitrate: This controls the audio quality. For a stereo podcast, 128 kbps is the sweet spot. If your show is in mono, 96 kbps works perfectly.
- Sample Rate: Set this to 44.1 kHz. It's the universal standard for consumer audio, so there's no need to overthink it.
- Loudness: This is non-negotiable. Your final file must hit the industry-standard loudness of -16 LUFS for stereo or -19 LUFS for mono. This ensures your podcast's volume matches other shows on Spotify and Apple Podcasts, so your listeners aren't constantly reaching for the volume knob.
Think of LUFS as the audio equivalent of a universal adapter. It guarantees that no matter where your podcast is played, it will sound "right" next to other professional content, creating a seamless and non-jarring listening experience.
Maximize Your Reach Through Content Repurposing
Once your episode goes live, your job isn't quite done. That audio you just perfected is a goldmine for creating more content. Repackaging it for different platforms is how you reach entirely new audiences who may never have found your show otherwise.
Instead of just tweeting a link to the new episode, think about creating a whole suite of micro-content designed to stop the scroll. This is a core service that production partners like micDrop offer to help brands amplify their message far beyond their primary podcast audience.
Here are a few of the most effective ways to repurpose your audio:
- Short-Form Video Clips: Isolate the best 30-60 second moments from your episode. Turn them into vertical videos for TikTok, Instagram Reels, and YouTube Shorts. Don’t forget to add animated captions—most people watch social videos on mute.
- Audiograms: These are simple videos that layer your audio over a static image (like your cover art) with a dynamic waveform. They’re great for sharing slightly longer clips on platforms like Instagram and LinkedIn, where video consistently outperforms static posts.
- Quote Graphics: Pull a powerful, memorable quote from the episode. Design a clean, branded graphic with the text and share it across all your social channels.
With this approach, one long-form episode can become a dozen different pieces of short-form content. If you're looking for more ways to get the most out of every recording, our deeper guide on content repurposing services is a great place to start.
Audio Export Settings for Major Platforms
To make things even easier, here's a quick-reference table with the go-to export settings for just about any podcast platform you’ll use. Stick to these, and you can't go wrong.
By following these export guidelines and adopting a repurposing mindset, you're not just publishing a podcast—you're creating a valuable asset. You've done the work, and now it’s time to make sure it reaches everyone, everywhere.
Deciding When to Hire a Production Studio
Learning to edit your own podcast is a fantastic skill, but it's also a serious time commitment. Eventually, you hit a tipping point where your most valuable asset—your time—is better spent creating great content, not getting lost in post-production.
For many founders and marketing teams, this moment arrives when editing consumes the entire week. You find yourself sacrificing strategy meetings or content planning just to hit a release deadline. That's not a sustainable model for growth.

Key Triggers to Outsource Your Editing
Here are the clear signs it’s time to partner with a professional production studio. If these sound familiar, it’s time to consider getting help.
- Inconsistent Release Schedule: Are you constantly pushing back your publish dates? Consistency is non-negotiable for audience growth. If editing bottlenecks cause delays, it’s a major red flag.
- Subpar Technical Quality: You might have brilliant content, but if the audio is full of background noise, levels are all over the place, or the video edits feel jarring, it undermines your brand’s professionalism.
- Editing Hijacks Your Focus: Your primary role should be ideating, hosting, and building relationships. If you spend more time staring at an audio waveform than you do on big-picture strategy, your priorities have been flipped.
- Repurposing Feels Impossible: You know you should be creating short-form clips for social media, but you have zero time or energy left after finishing the main episode edit. This means you're leaving massive growth opportunities on the table.
The Strategic Value of a Production Partner
Bringing on a studio like micDrop isn't just about offloading work; it's a strategic investment to reclaim your time and elevate your brand.
A dedicated production team manages the entire workflow—from guided remote recording and multi-cam video editing to sound design, branded motion graphics, and distribution.
This shift frees you to do what you do best: create standout content. While you focus on the conversation, a professional team handles the technical headaches, ensuring consistent, high-quality output that builds audience trust and loyalty.
Ultimately, outsourcing your podcast production transforms your show from a time-draining chore into a powerful, polished asset that drives your brand forward. It allows you to scale your content without scaling your personal workload.
Got Podcast Editing Questions? We've Got Answers
Let's cut right to it. Here are some quick, no-nonsense answers to the questions we hear most often about editing a podcast.
How Long Does It Take To Edit A One-Hour Podcast?
Count on spending 3-6 hours of editing time for every one hour of raw audio. That's a realistic benchmark for a high-quality production.
This covers everything from trimming down the conversation and removing stumbles to balancing audio levels, mixing in your theme music, and mastering the final file. While some AI tools can help speed up parts of the workflow, a great edit that keeps listeners engaged still needs a human touch and a serious time investment.
What Is The Most Important Part Of Podcast Editing?
The structural edit. Hands down. While you definitely need clean audio, the pacing and story of your episode will always have a bigger impact on your audience.
A clear, tight narrative will keep people listening far more effectively than perfect-sounding audio that just rambles on.
The real secret to a great podcast is learning what to cut. Being ruthless with tangents and tightening up the flow respects your listener's time and is the key to holding their attention from start to finish.
Do I Need Expensive Software To Edit My Podcast?
Not at all, especially when you're starting out. Free tools like Audacity and GarageBand are more than powerful enough to produce a professional-sounding show.
Once your podcast starts to grow, you might consider paid software like Adobe Audition or Descript. Their advanced features can be a game-changer, especially if you're getting into video podcasting or want to use more AI-powered shortcuts.
Feeling like the editing process is more than you bargained for? micDrop can take the entire production workflow off your plate. We handle everything from remote recording support to the final export and even repurposing your content, letting you focus on what you do best—creating. Learn more about our services.


